
この記事では、購入後のボディ製作に困らないようにカットラインを解説していきます。画像の赤線を参考にカットしていただければと思います。切りすぎてしまいそうな方は、少し余分を残してカットしてきましょう。(一発できれいに仕上げようとしないことが成功のコツです!)
In this article, we’ll explain the cutting lines to help you avoid difficulties in bodywork after purchase. Please use the red lines in the images as a reference for cutting. If you’re concerned about cutting too much, leave a bit extra and trim gradually. (The key to success is not trying to get a perfect finish in one go!)
さっそくですが画像を参考にしながらイメージをしていきましょう!!
Certainly! Let’s start right away by using the images as a reference and building the image step by step in your mind!
目次
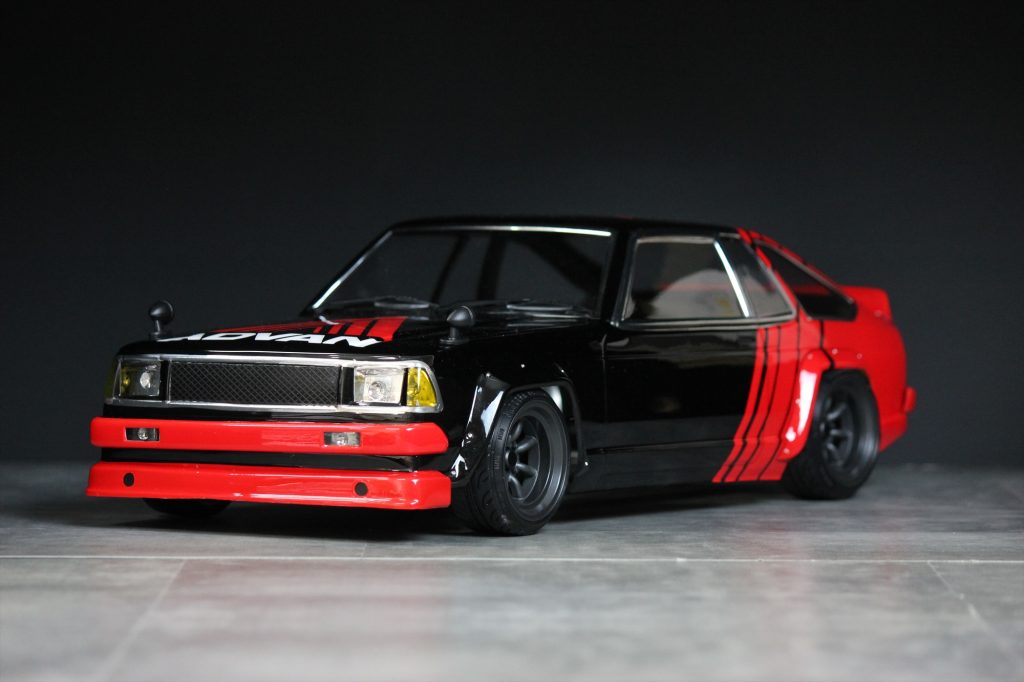
Front / フロント
(画像タップで拡大できます/You can enlarge by tapping the image)
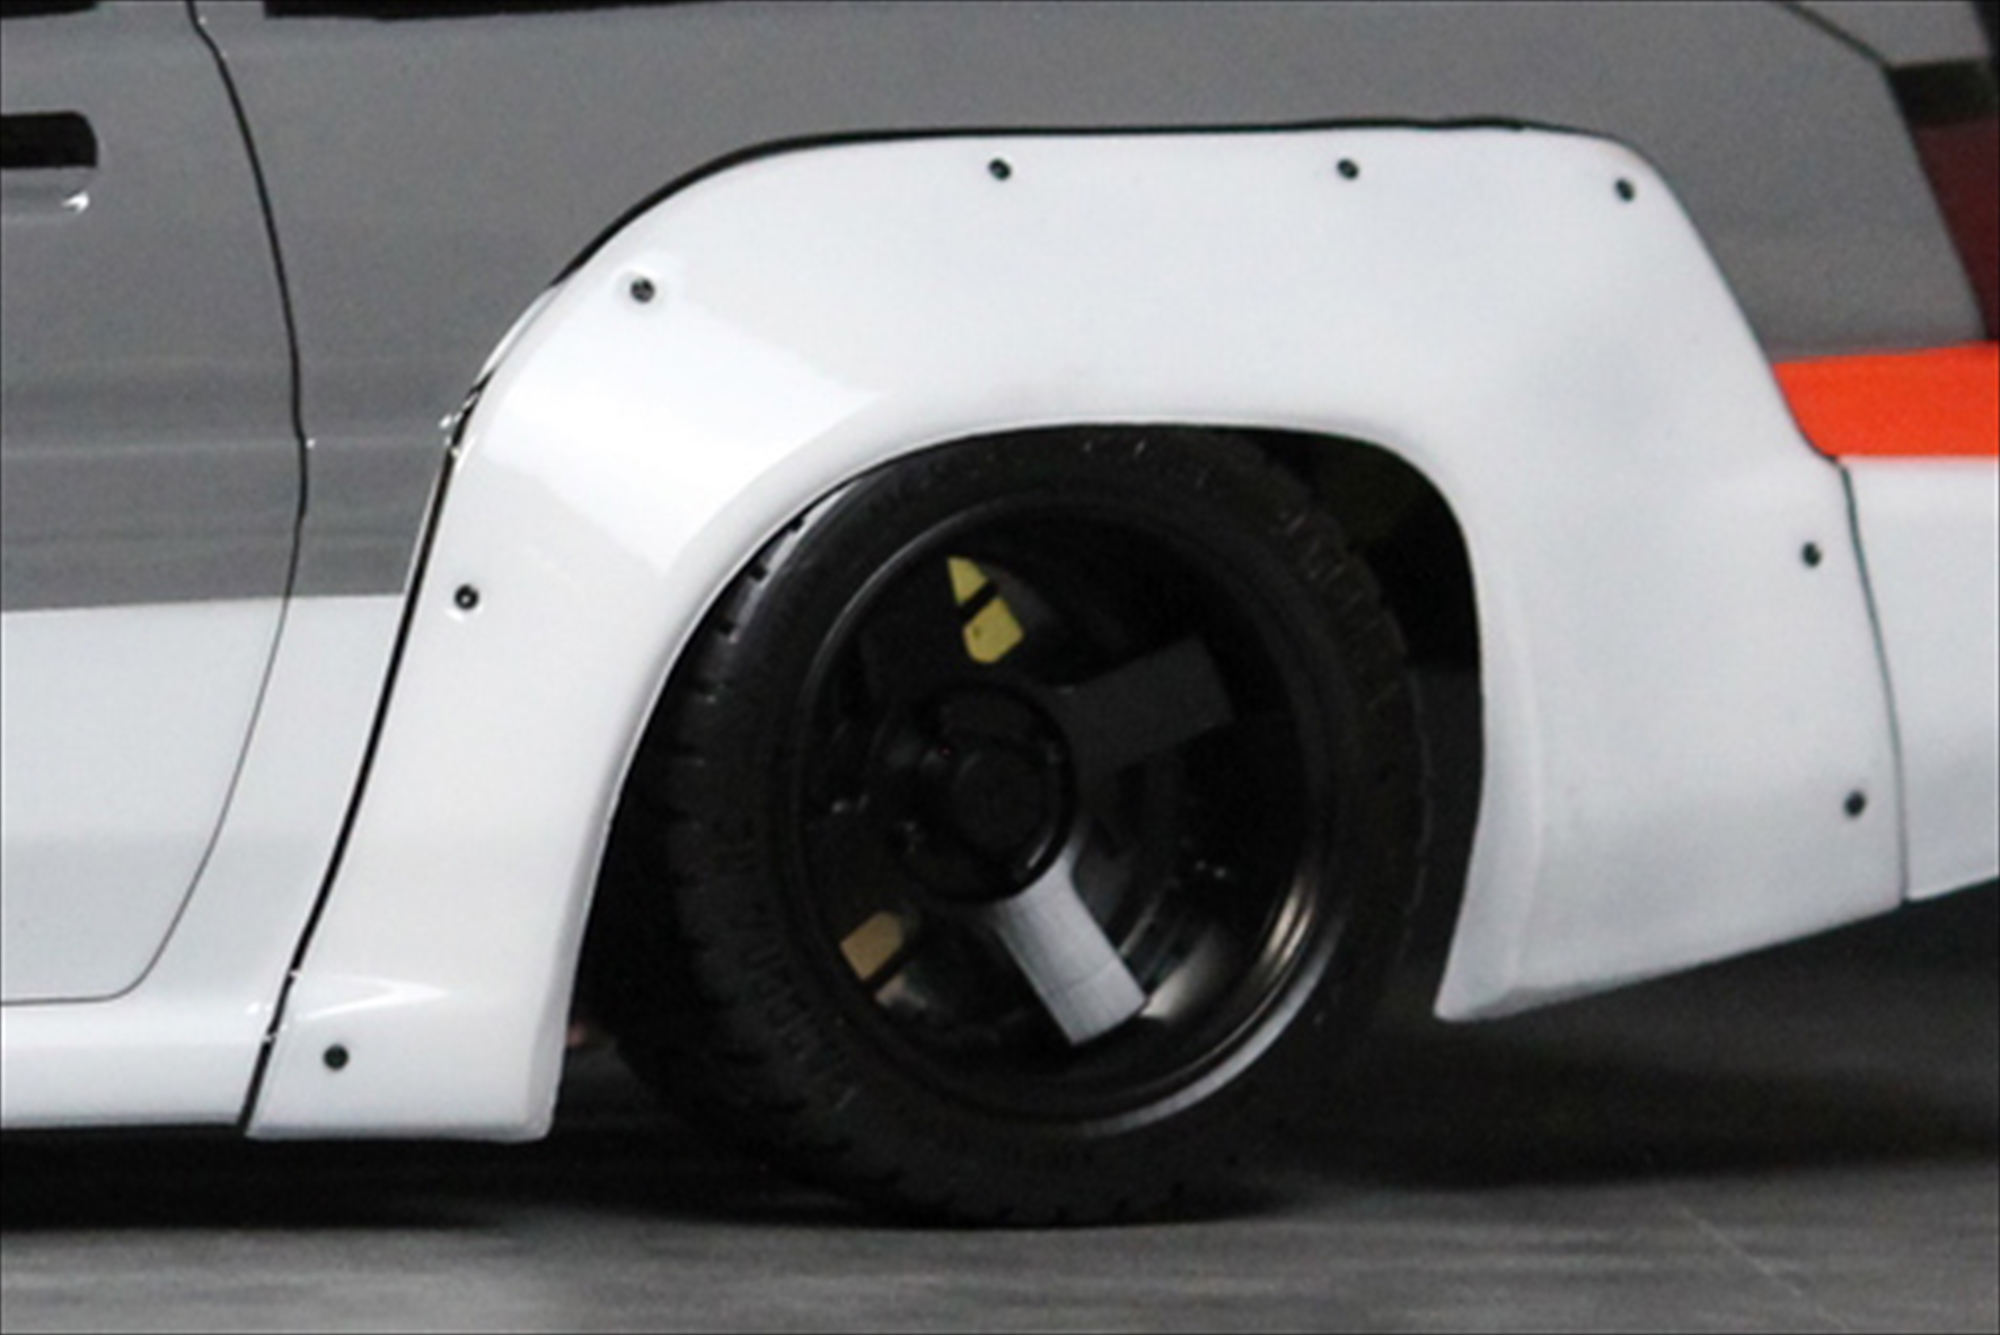
Wheelarch / ホイールアーチ (Front / フロント)
(画像タップで拡大できます)
_01_20240125.jpg)
_02_20240125-1.jpg)

実車のような厚みを持たせることで、よりリアルな仕上がりを実現している。(赤斜線部分)
Achieving a more realistic finish by giving it a thickness similar to that of an actual vehicle (indicated by the red diagonal lines).
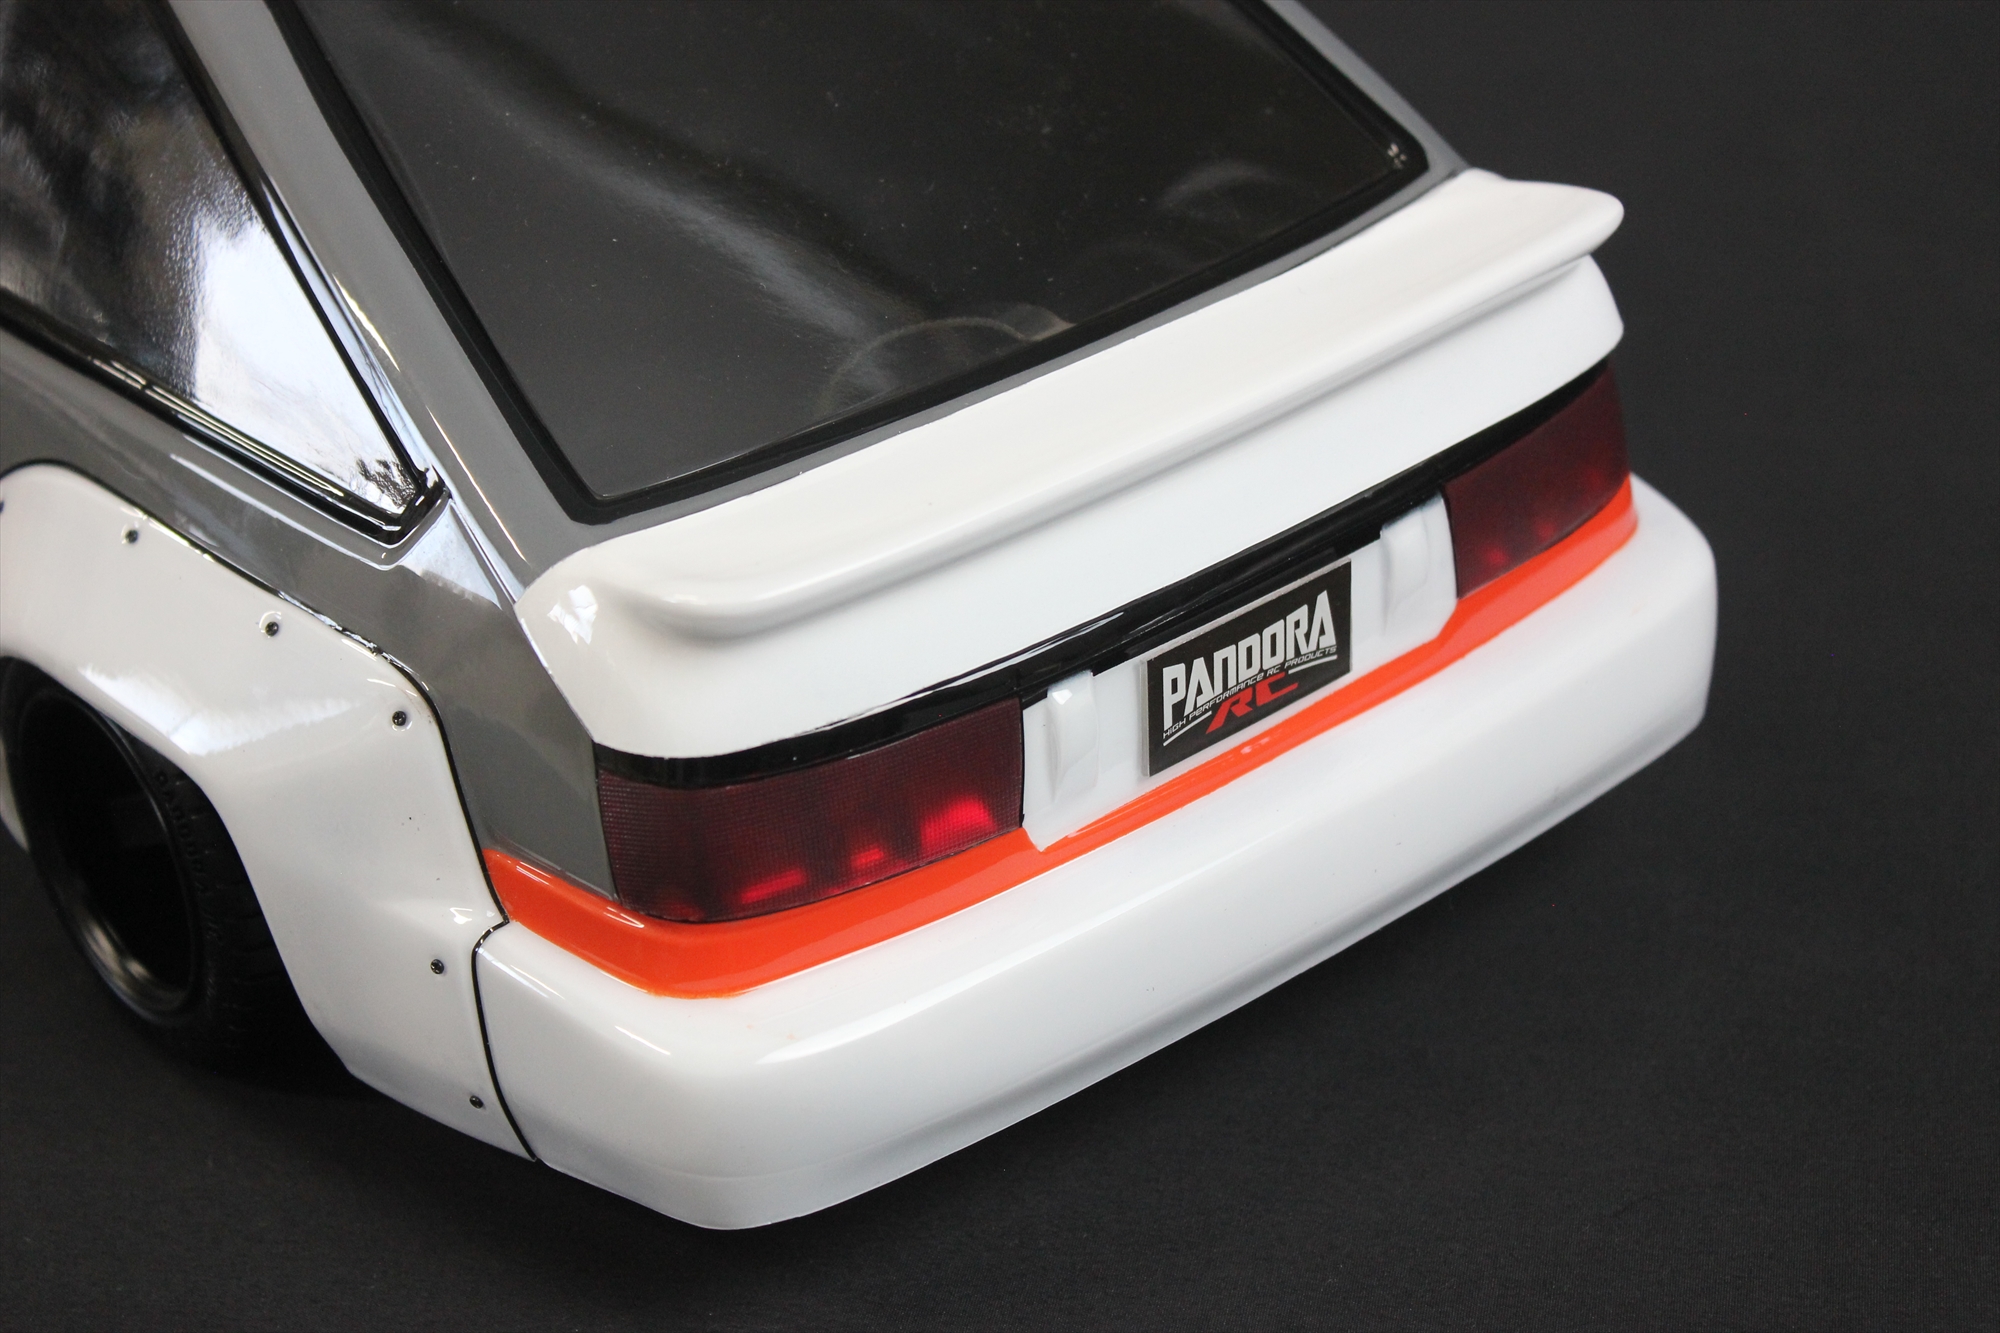
Wheelarch / ホイールアーチ (Rear / リア)
(画像タップで拡大できます)
_20240125.jpg)
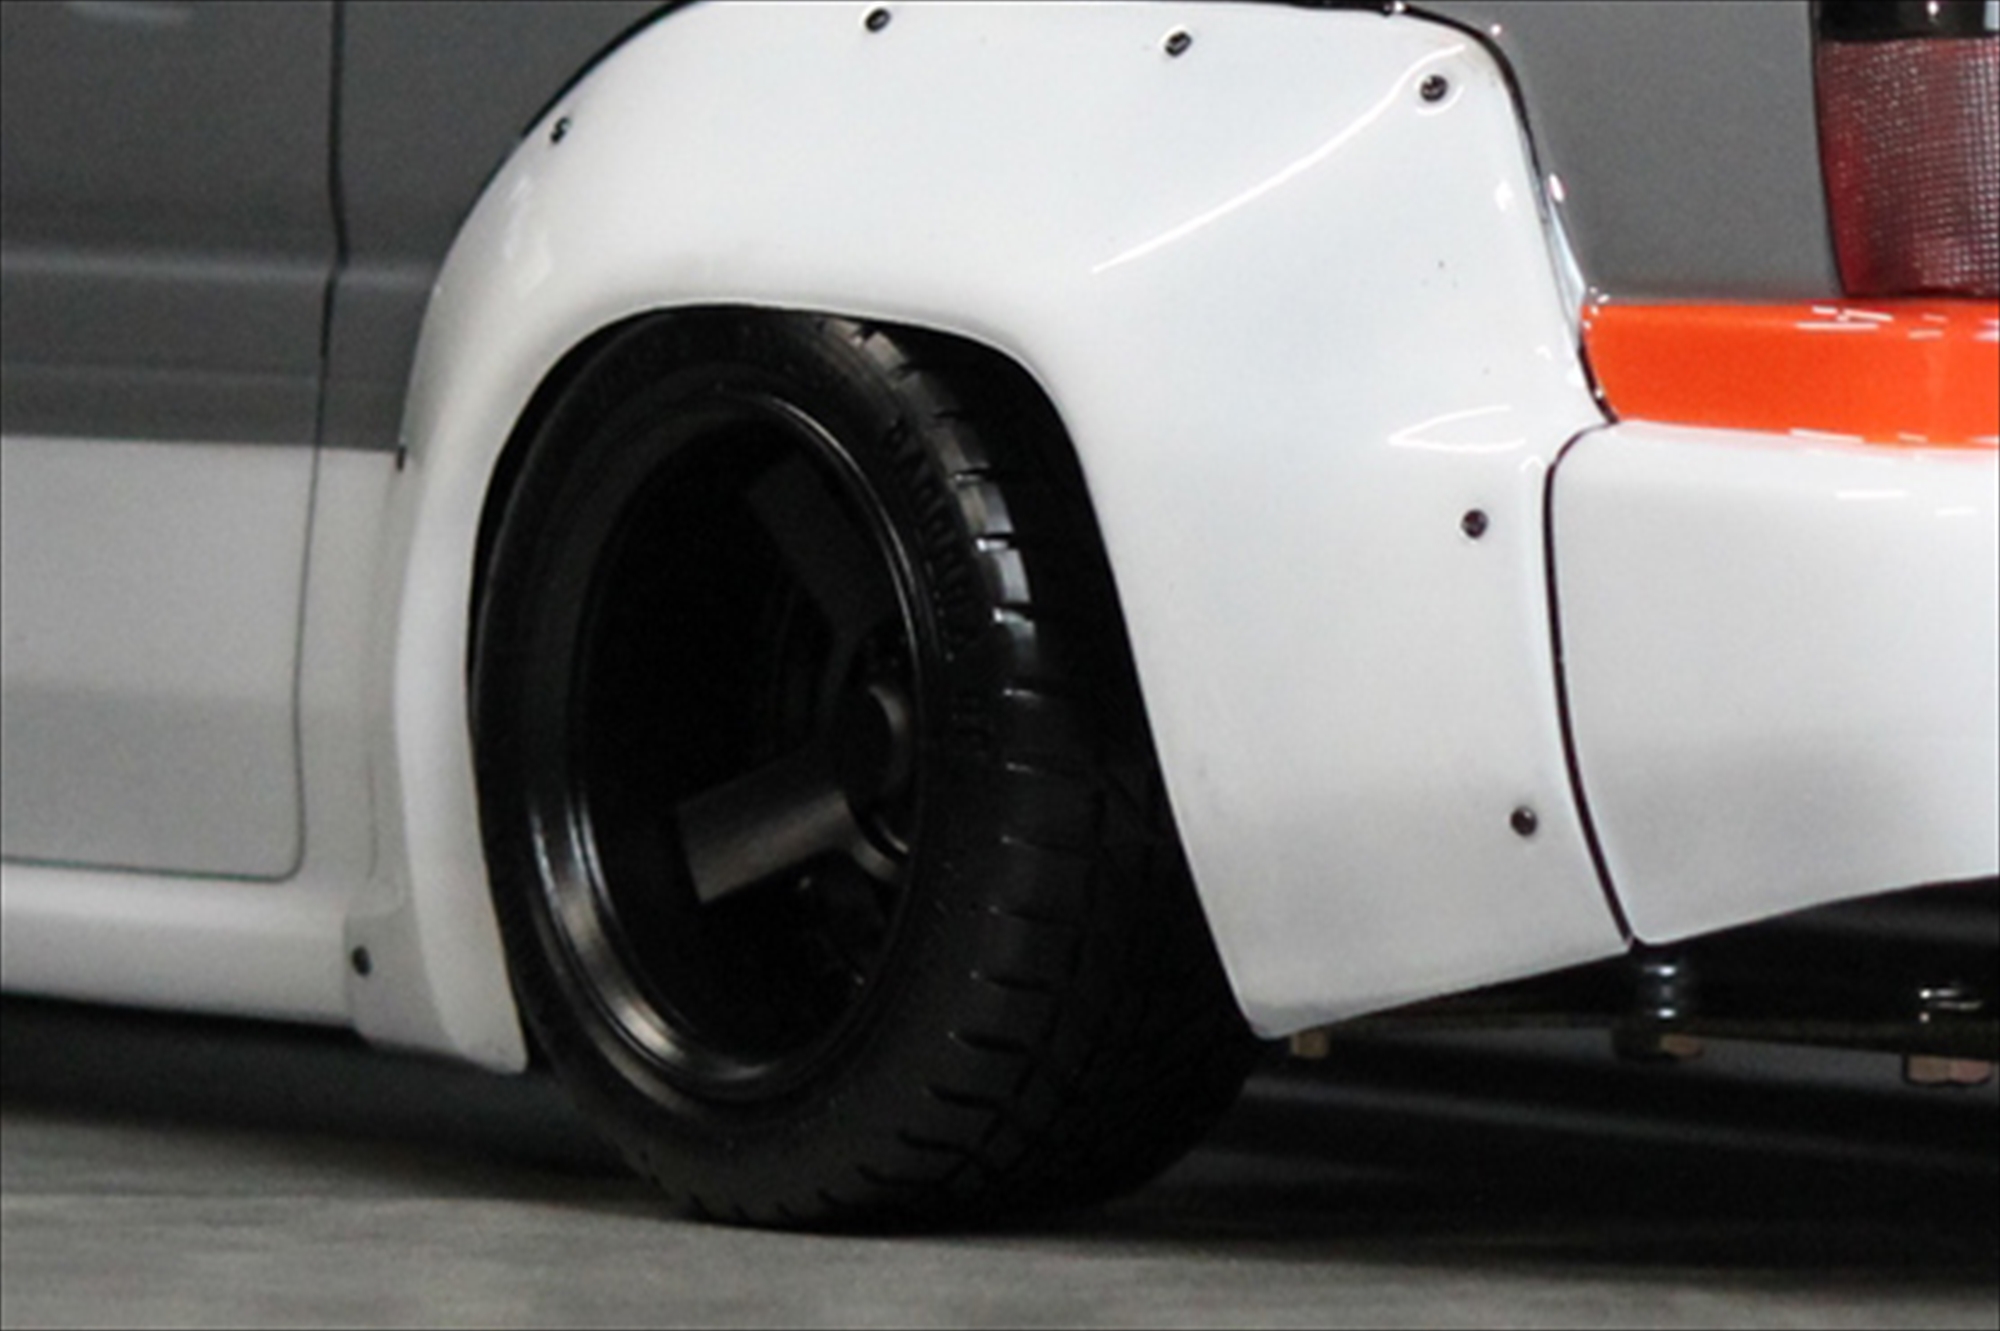
フロント同様に、実車のような厚みを持たせることで、よりリアルな仕上がりを実現している。(赤斜線部分)
Achieving a more realistic finish by giving it a thickness similar to that of an actual vehicle (indicated by the red diagonal lines).
Rear / リア
(画像タップで拡大できます)
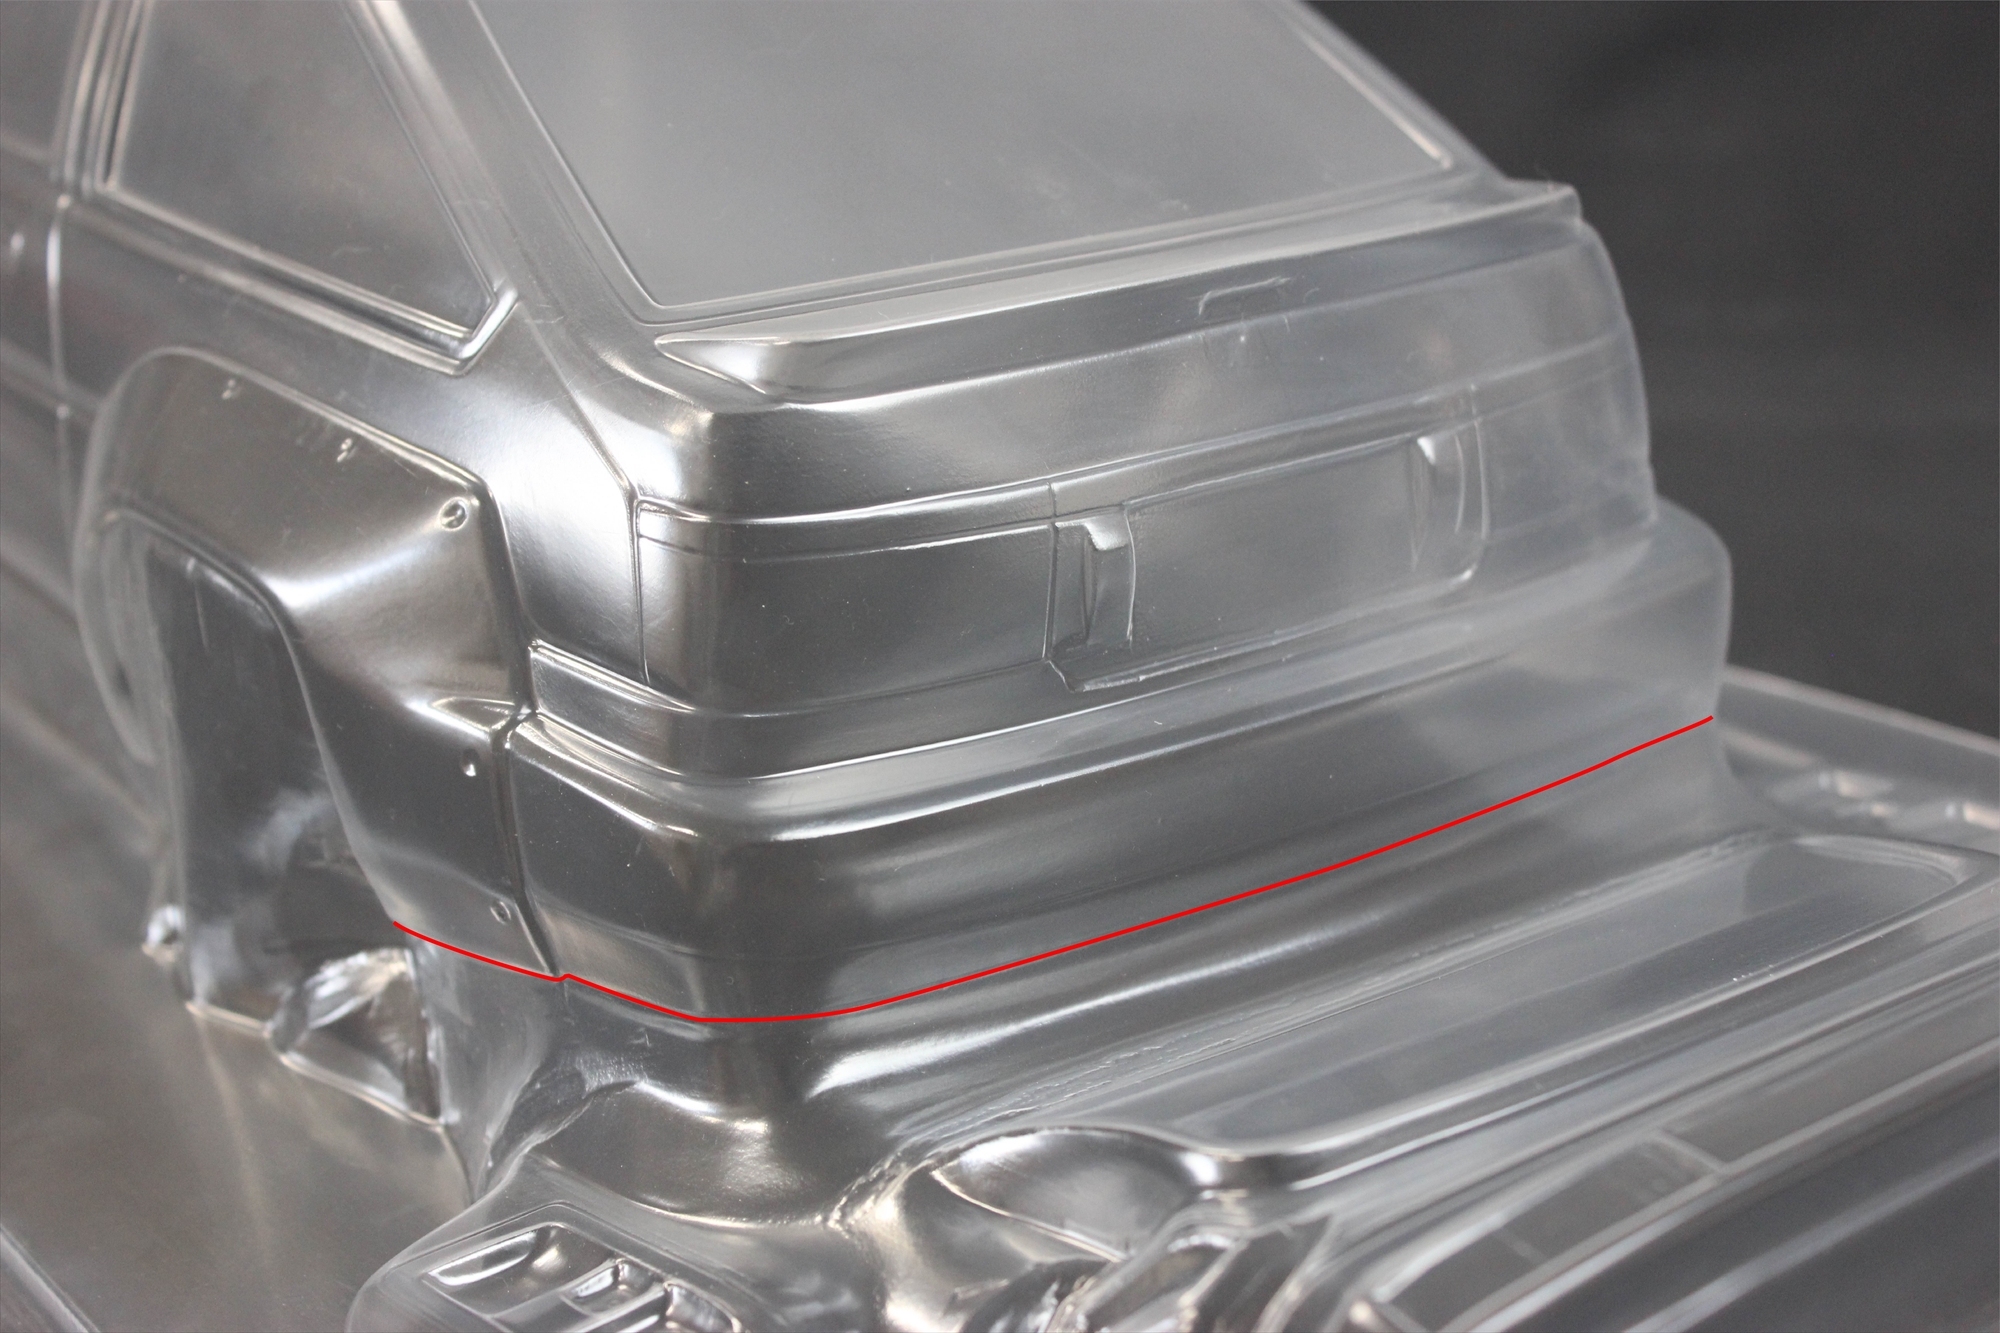
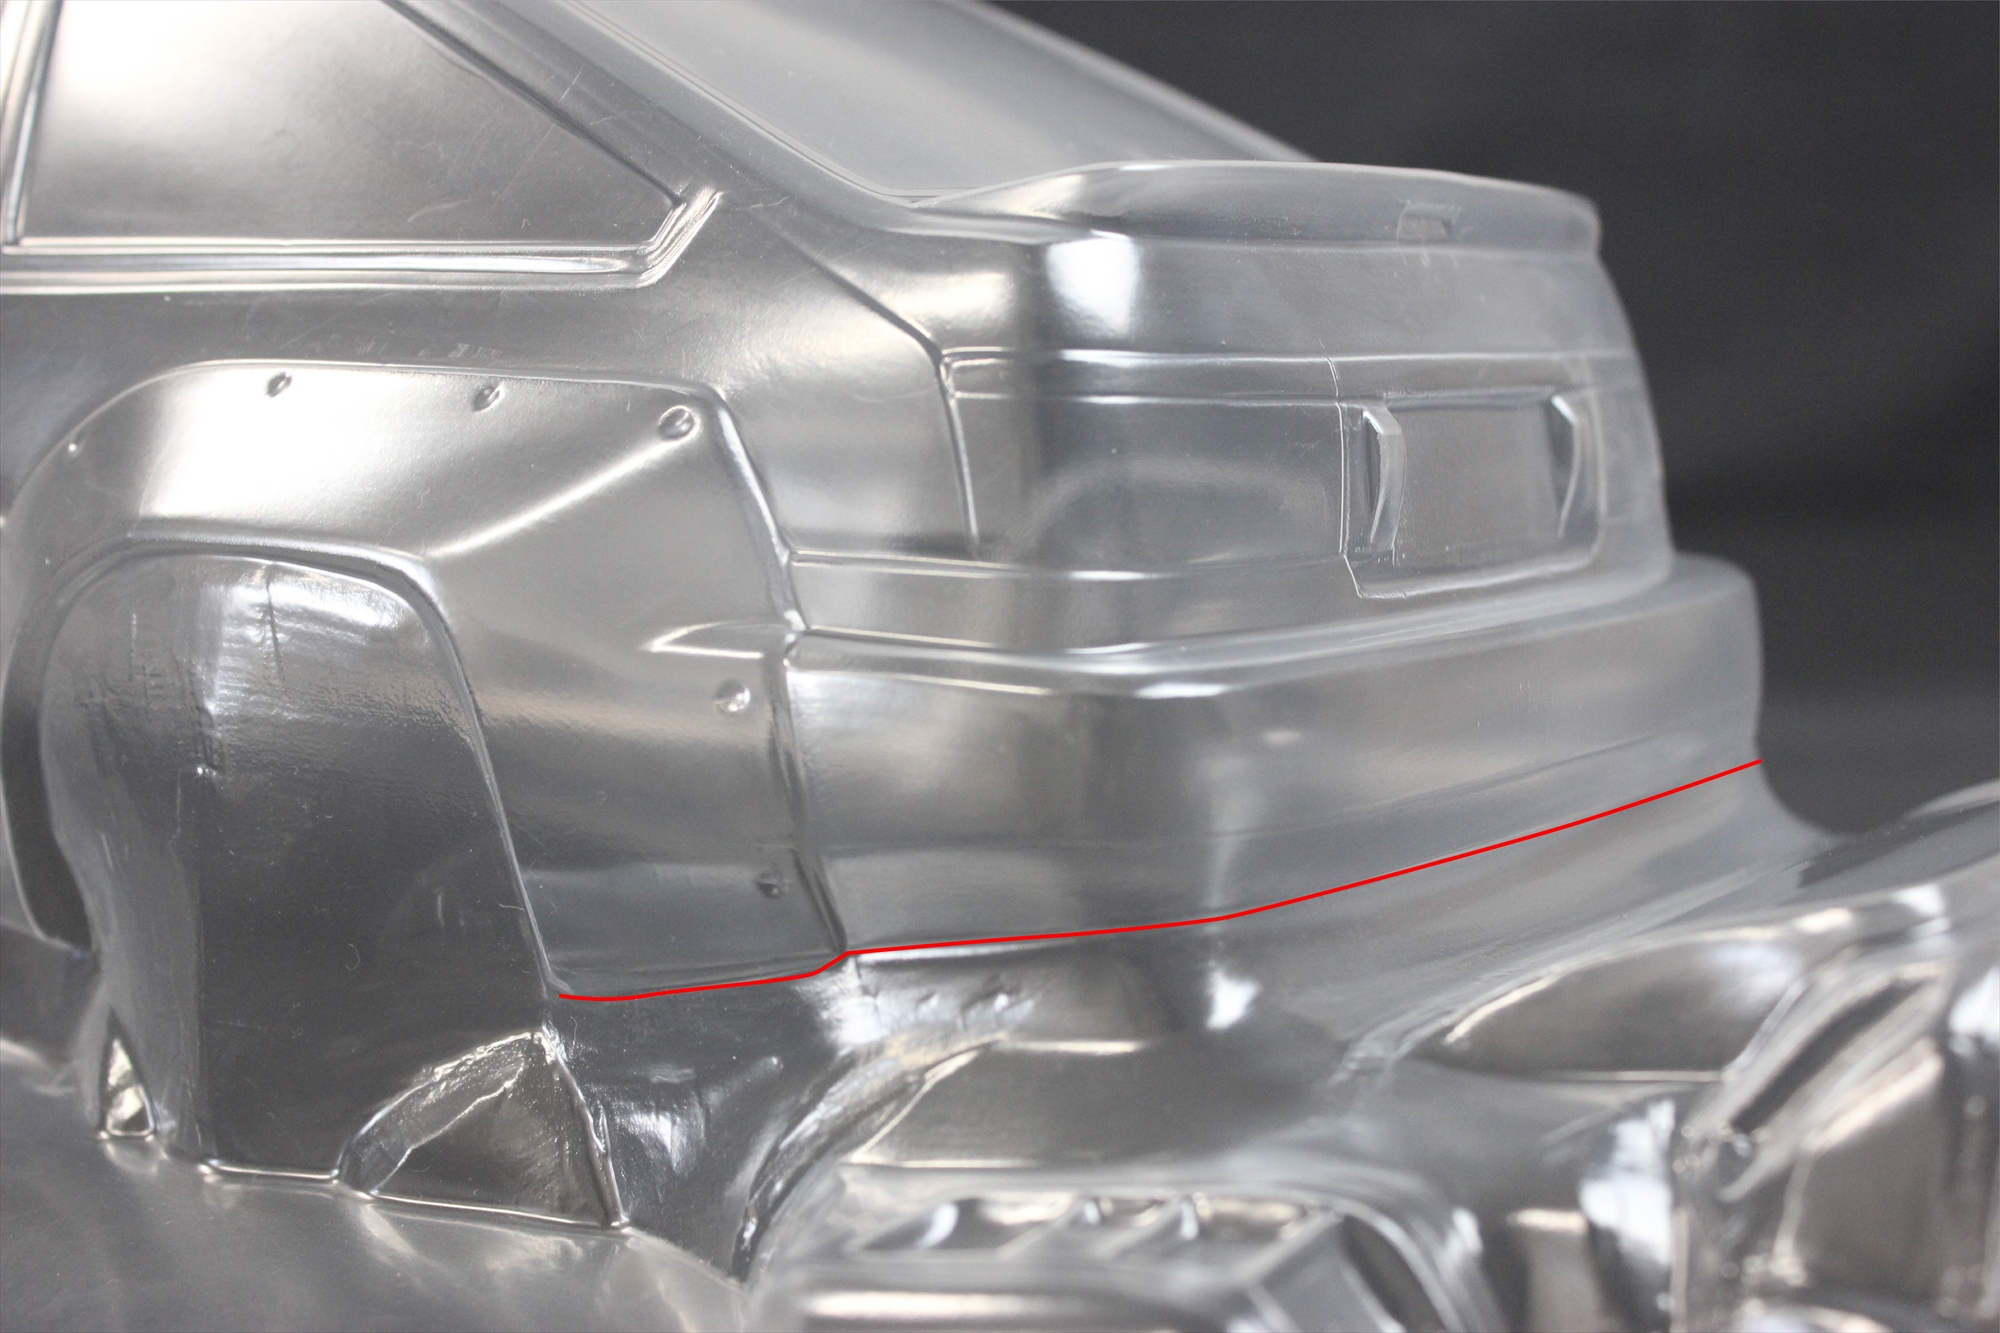
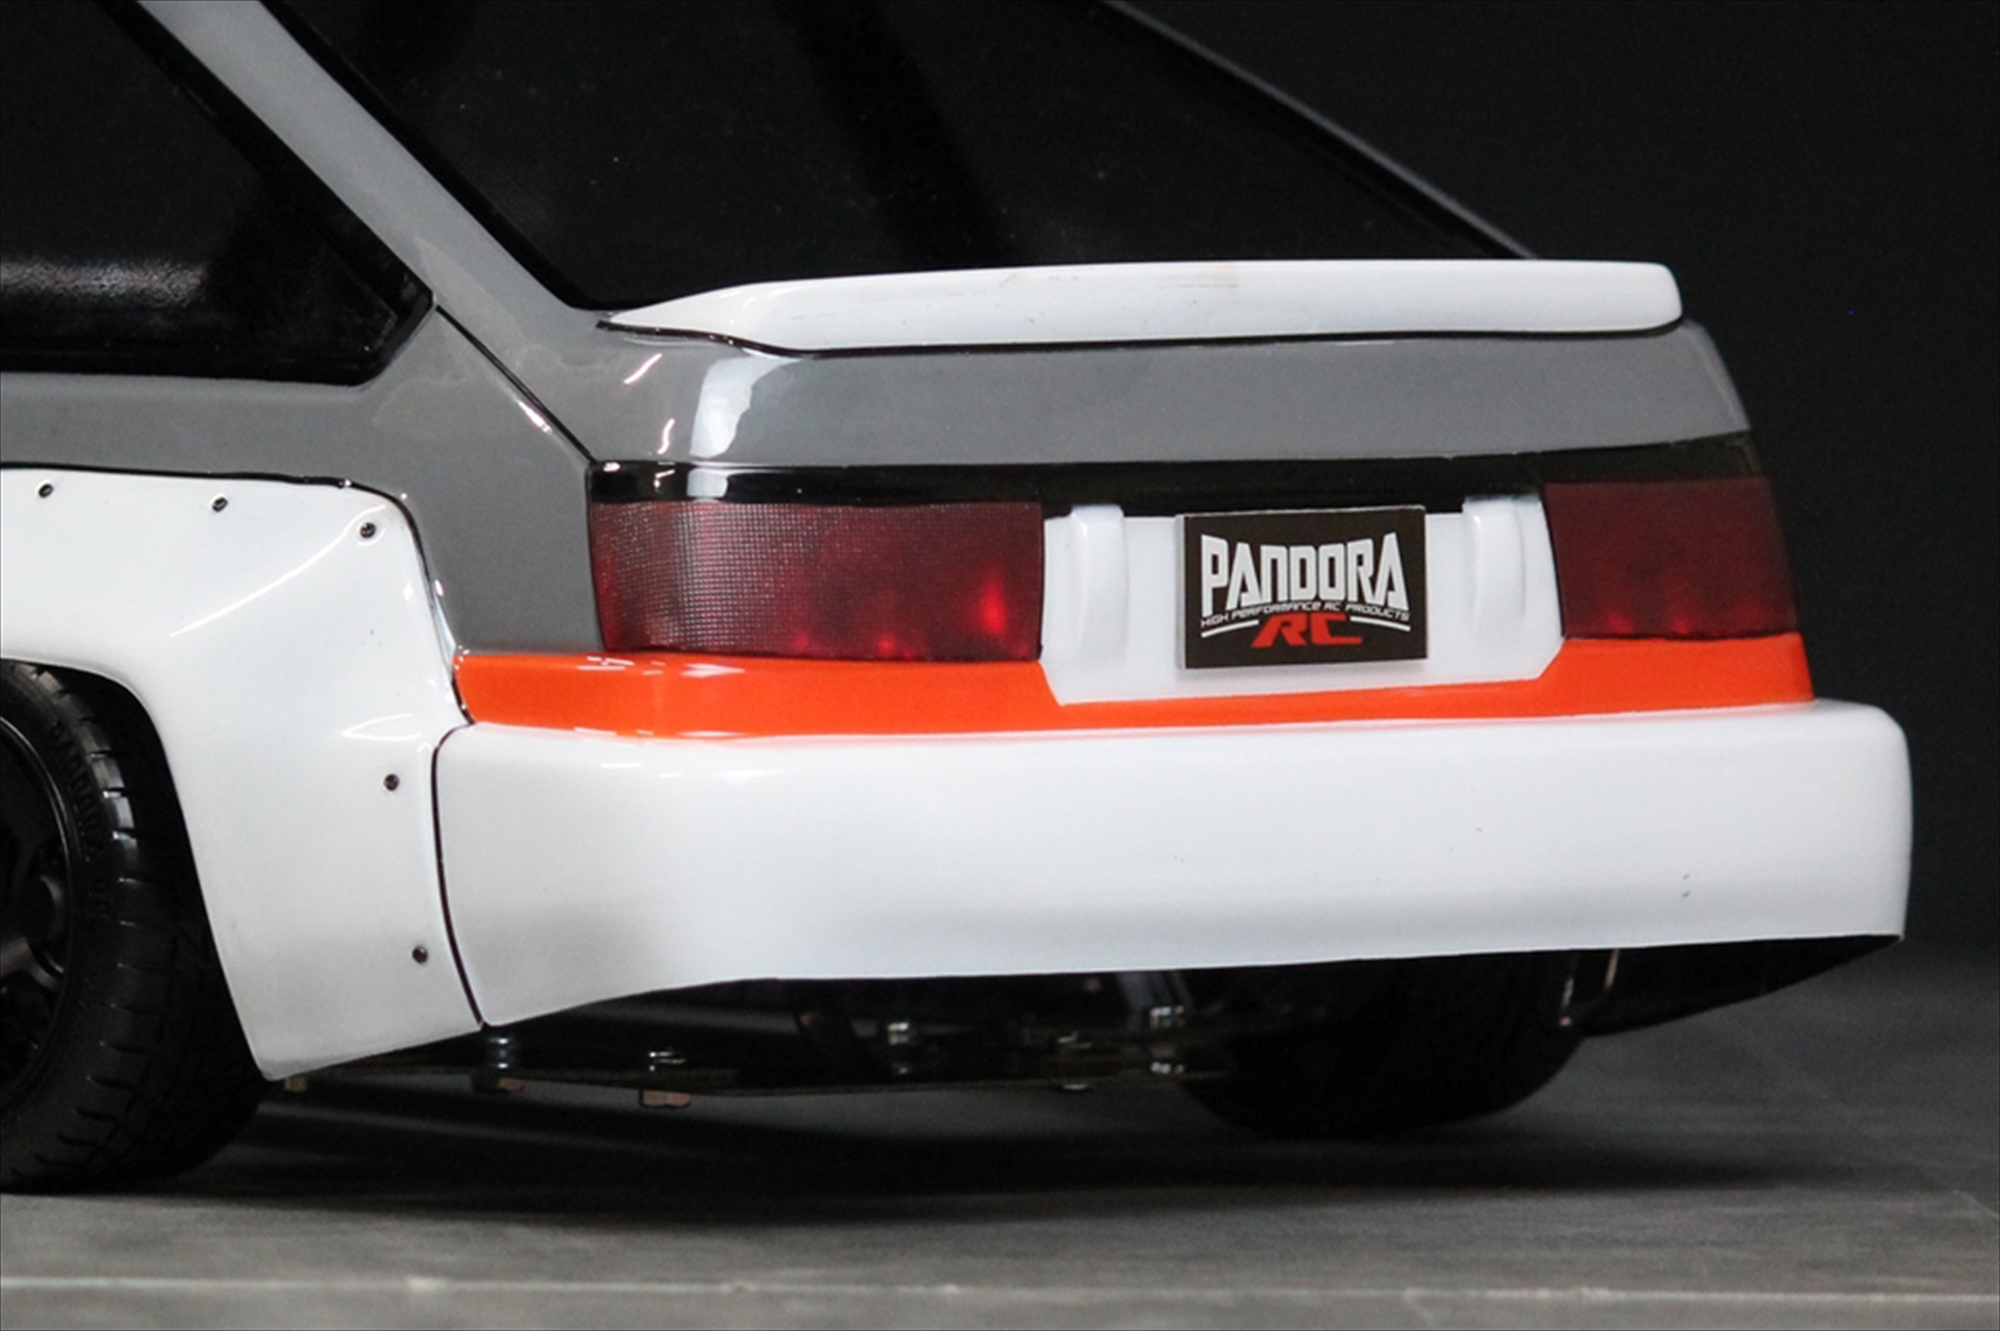
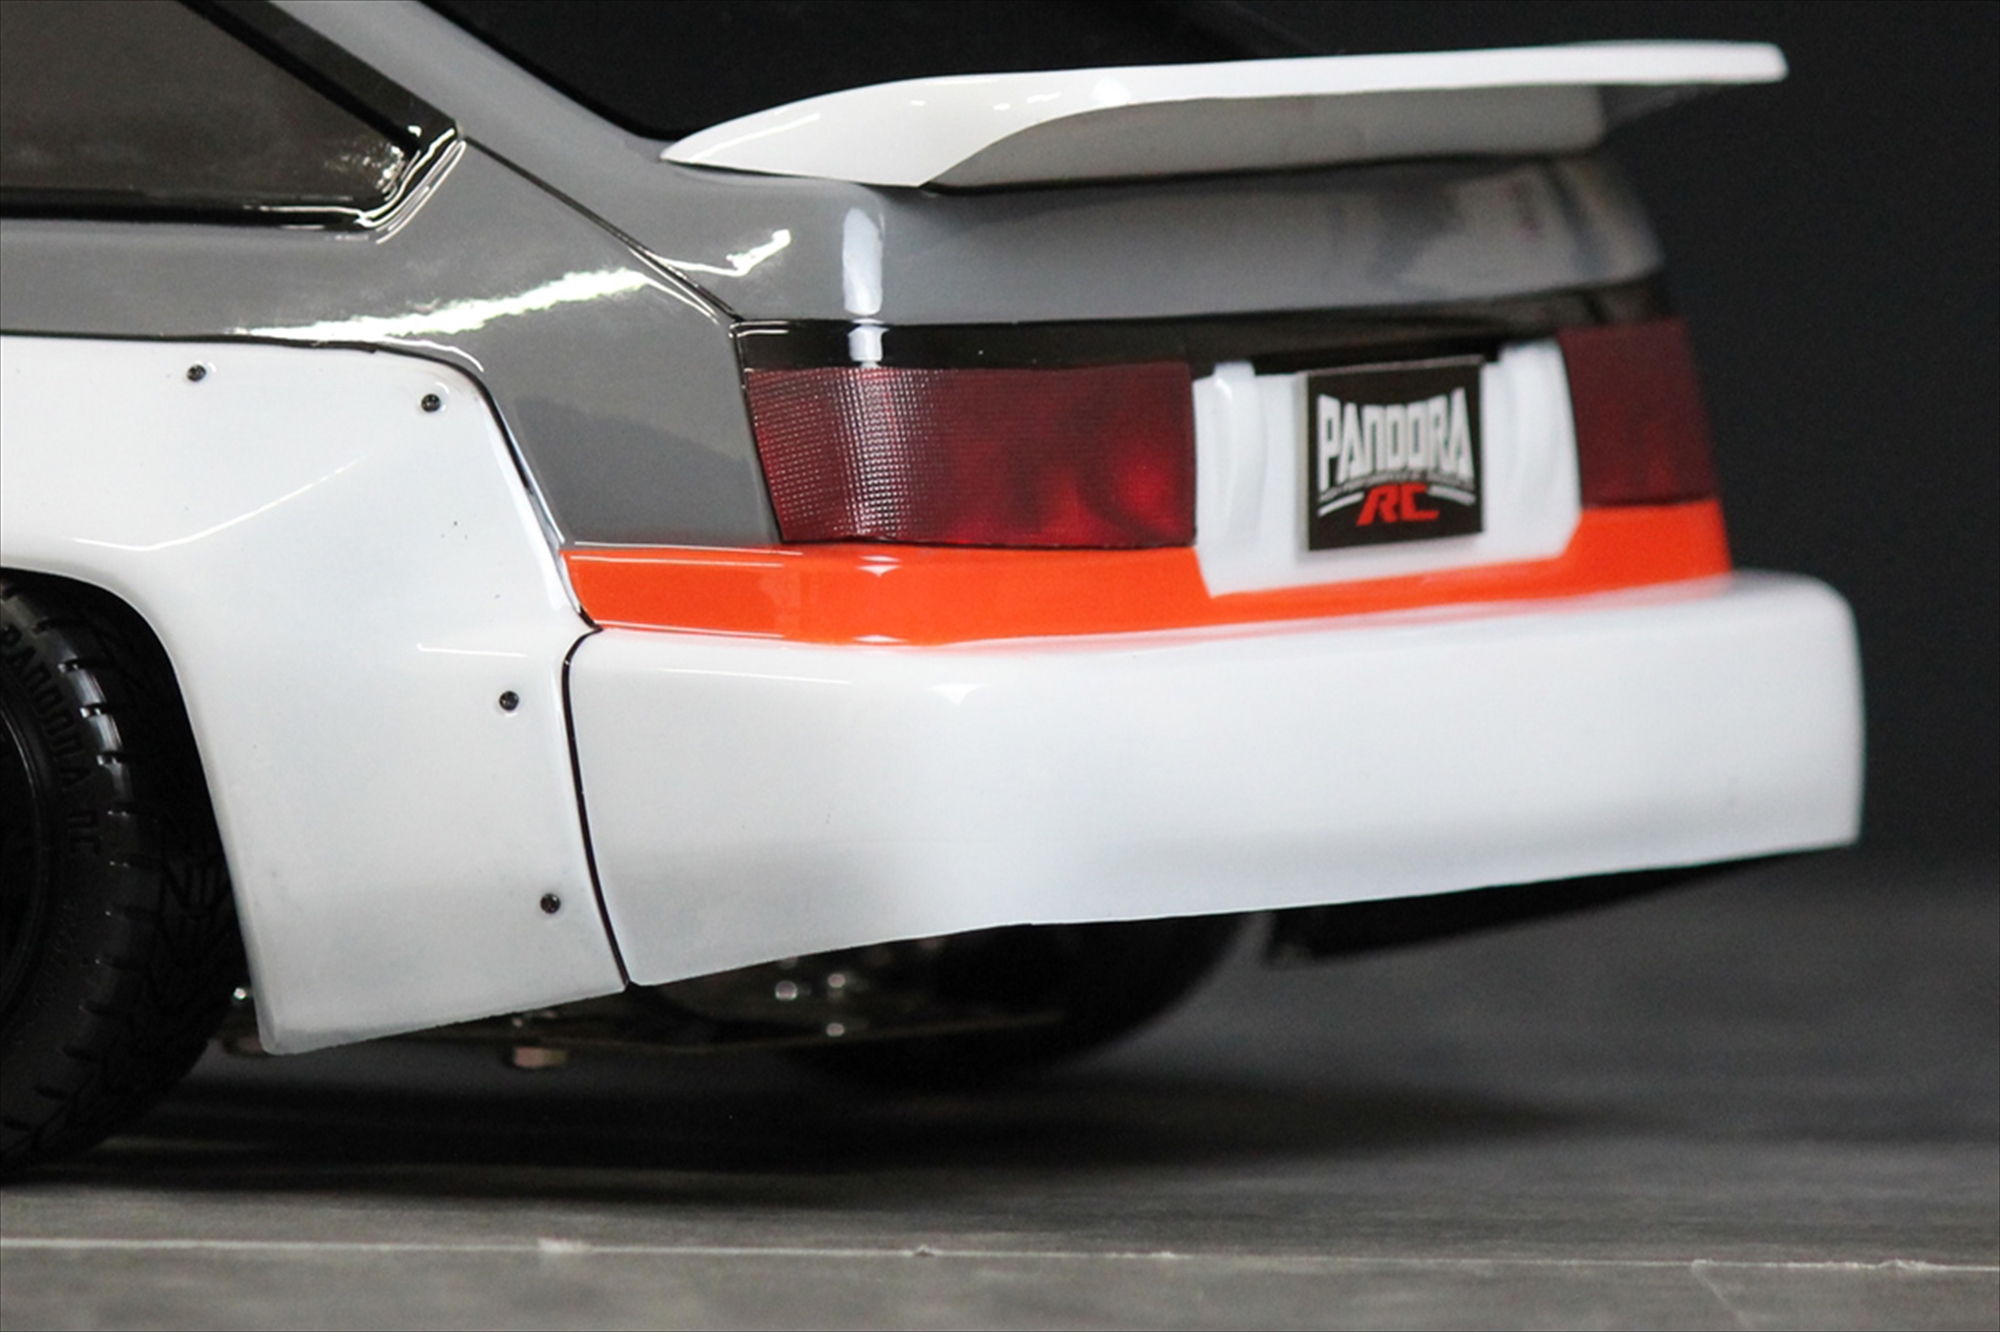
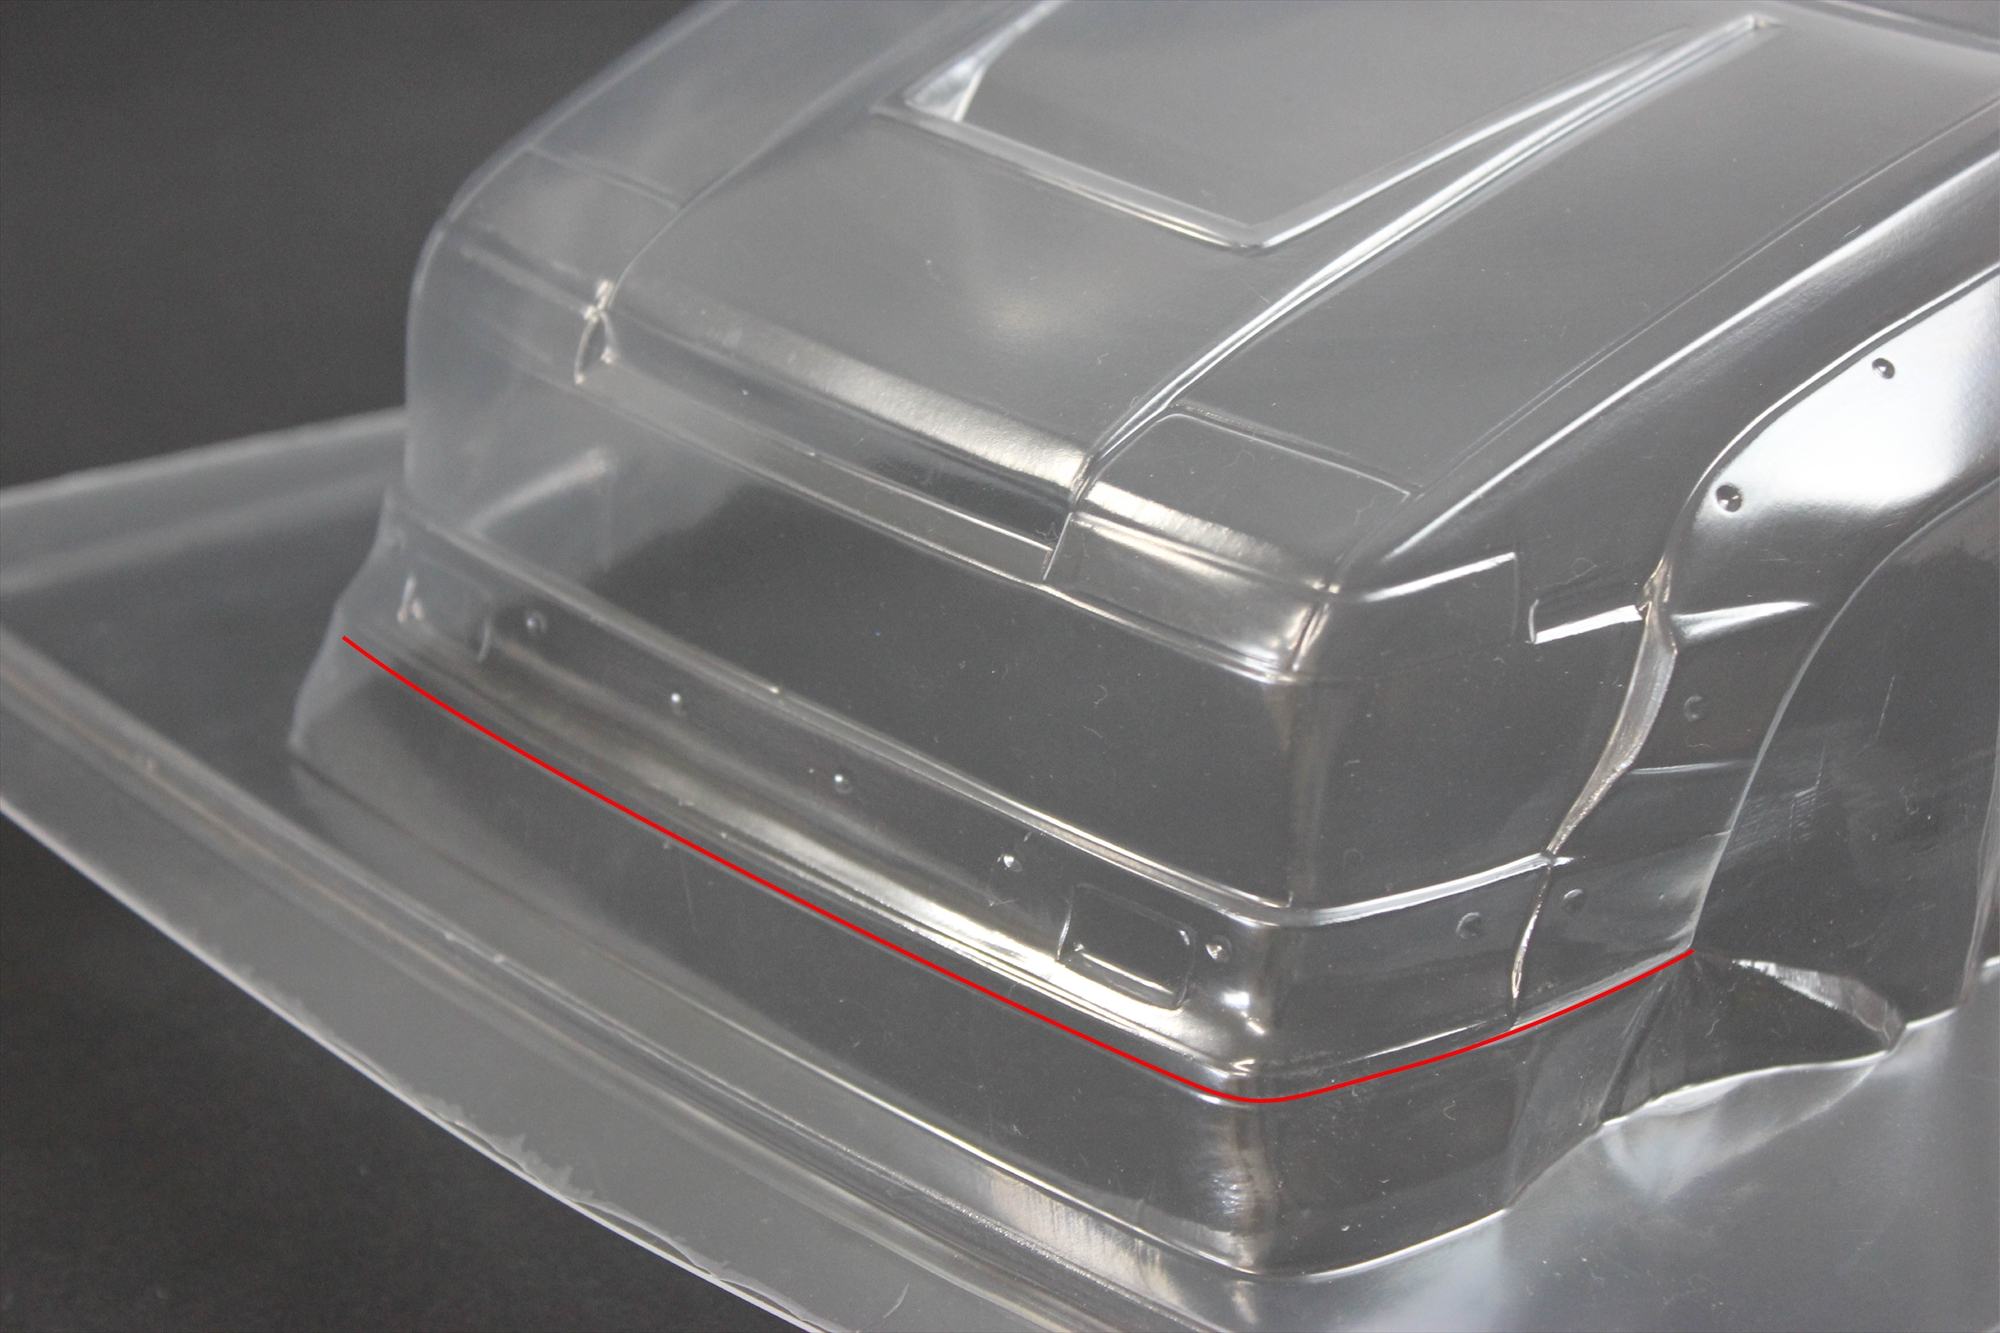
Bumper / バンパー
(画像タップで拡大できます)
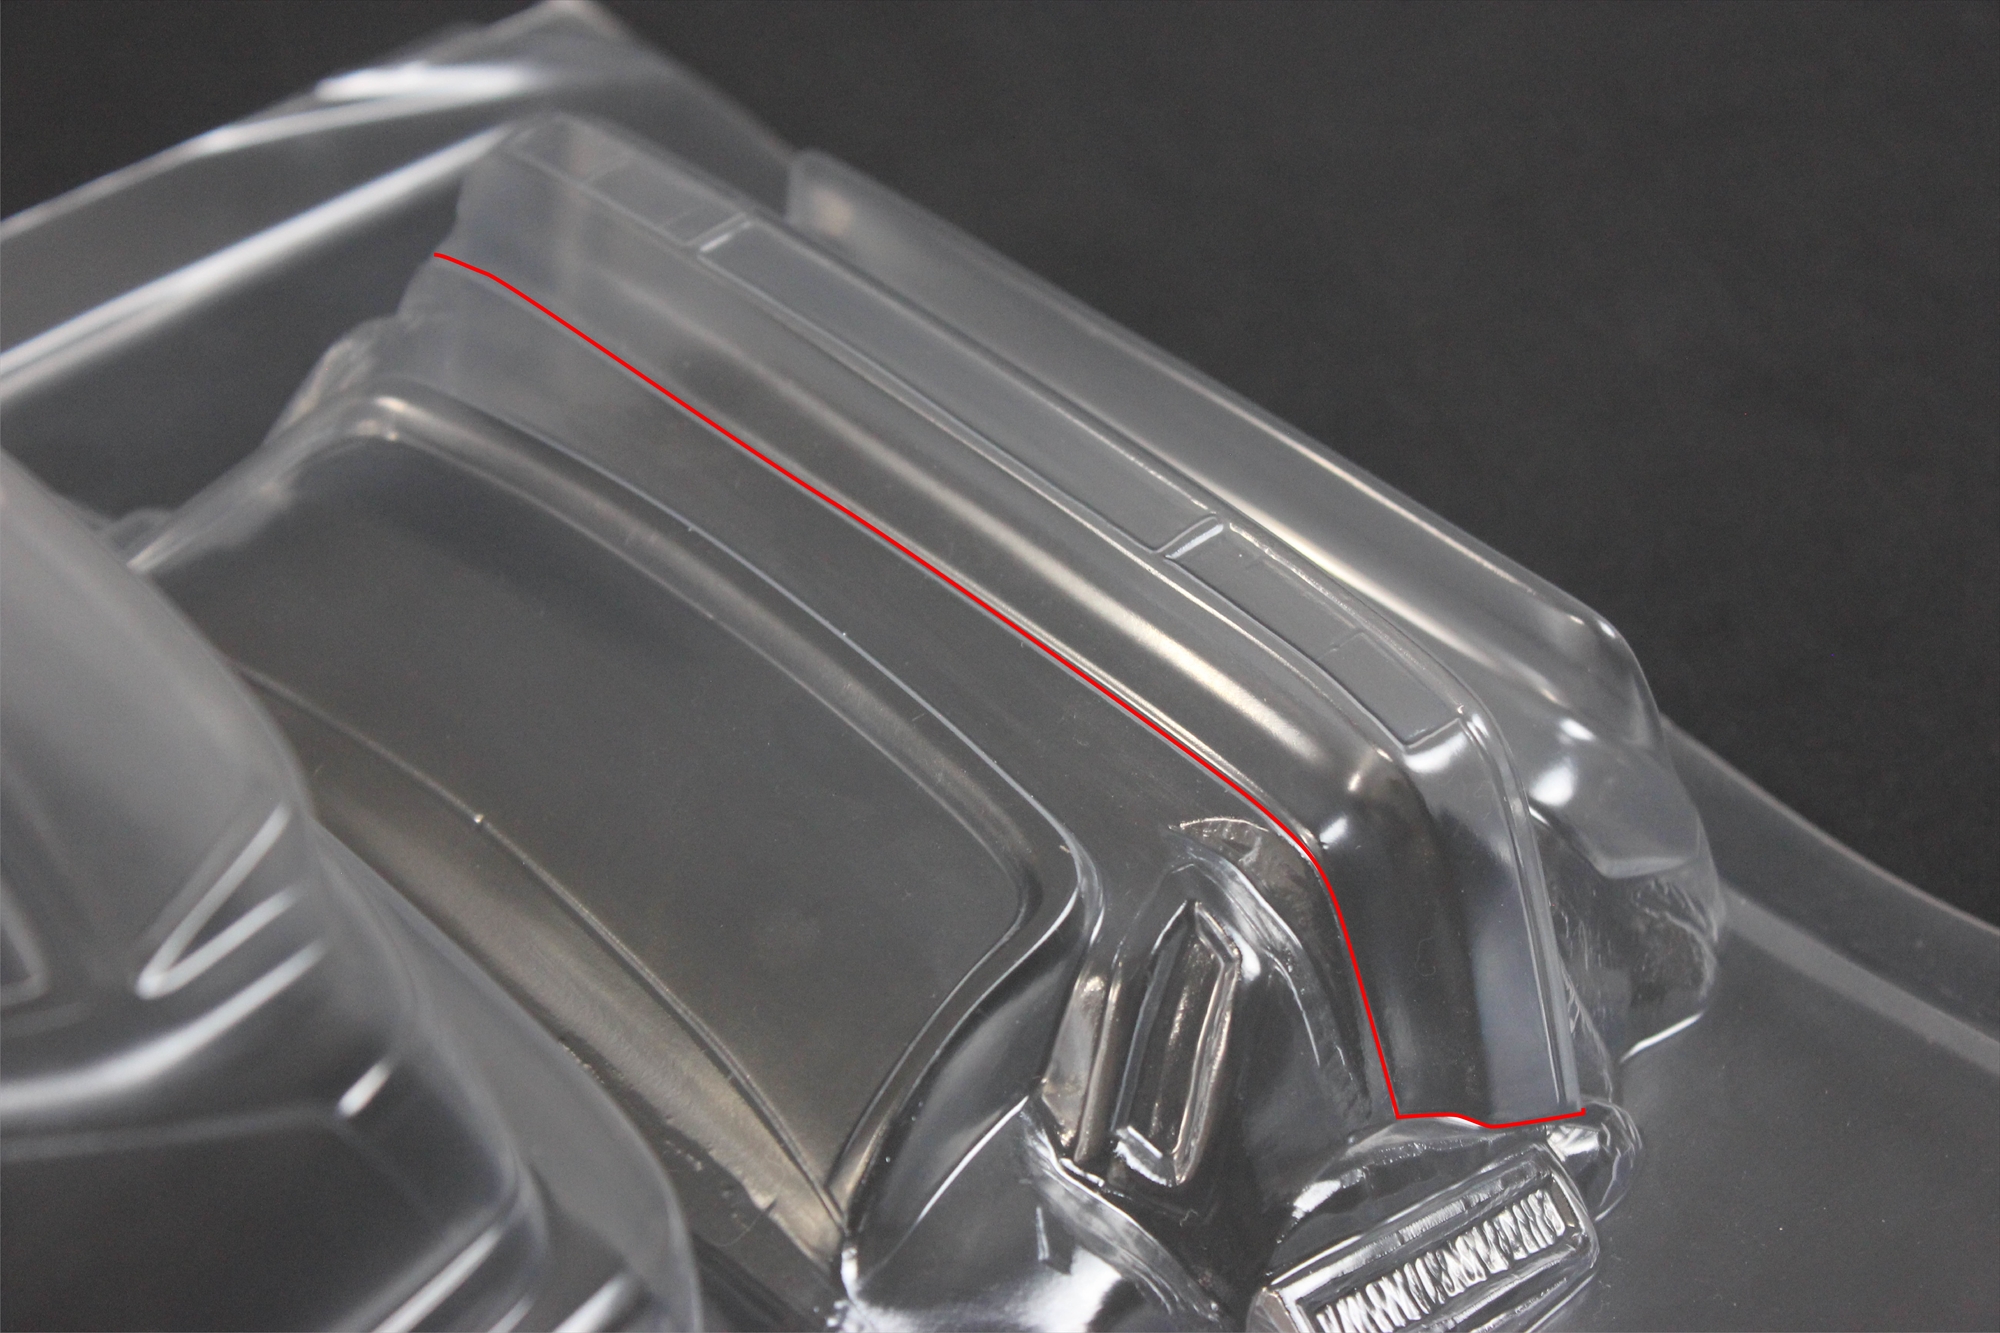
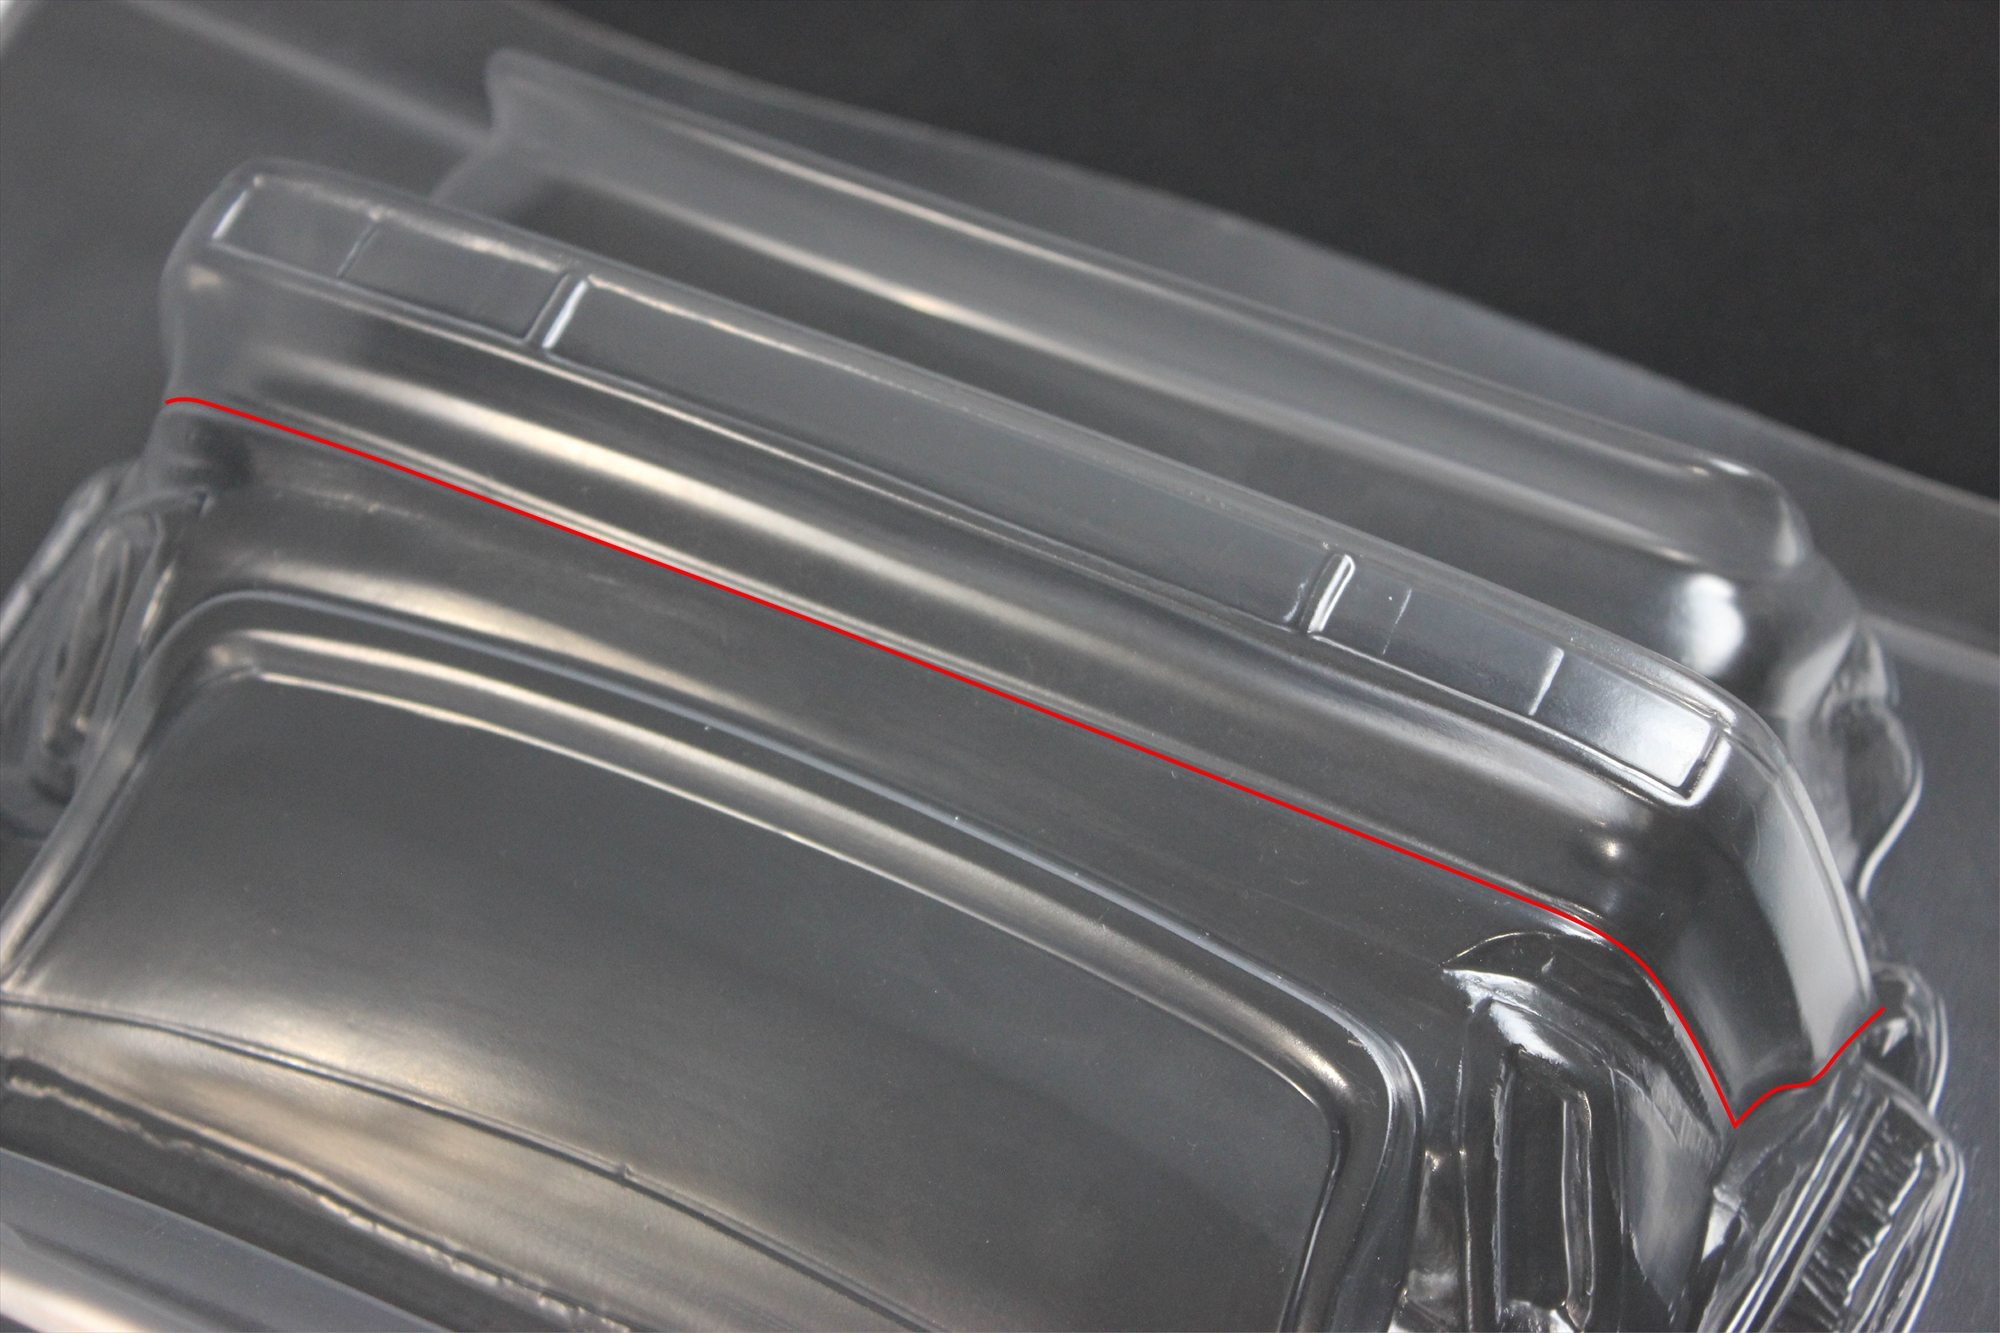
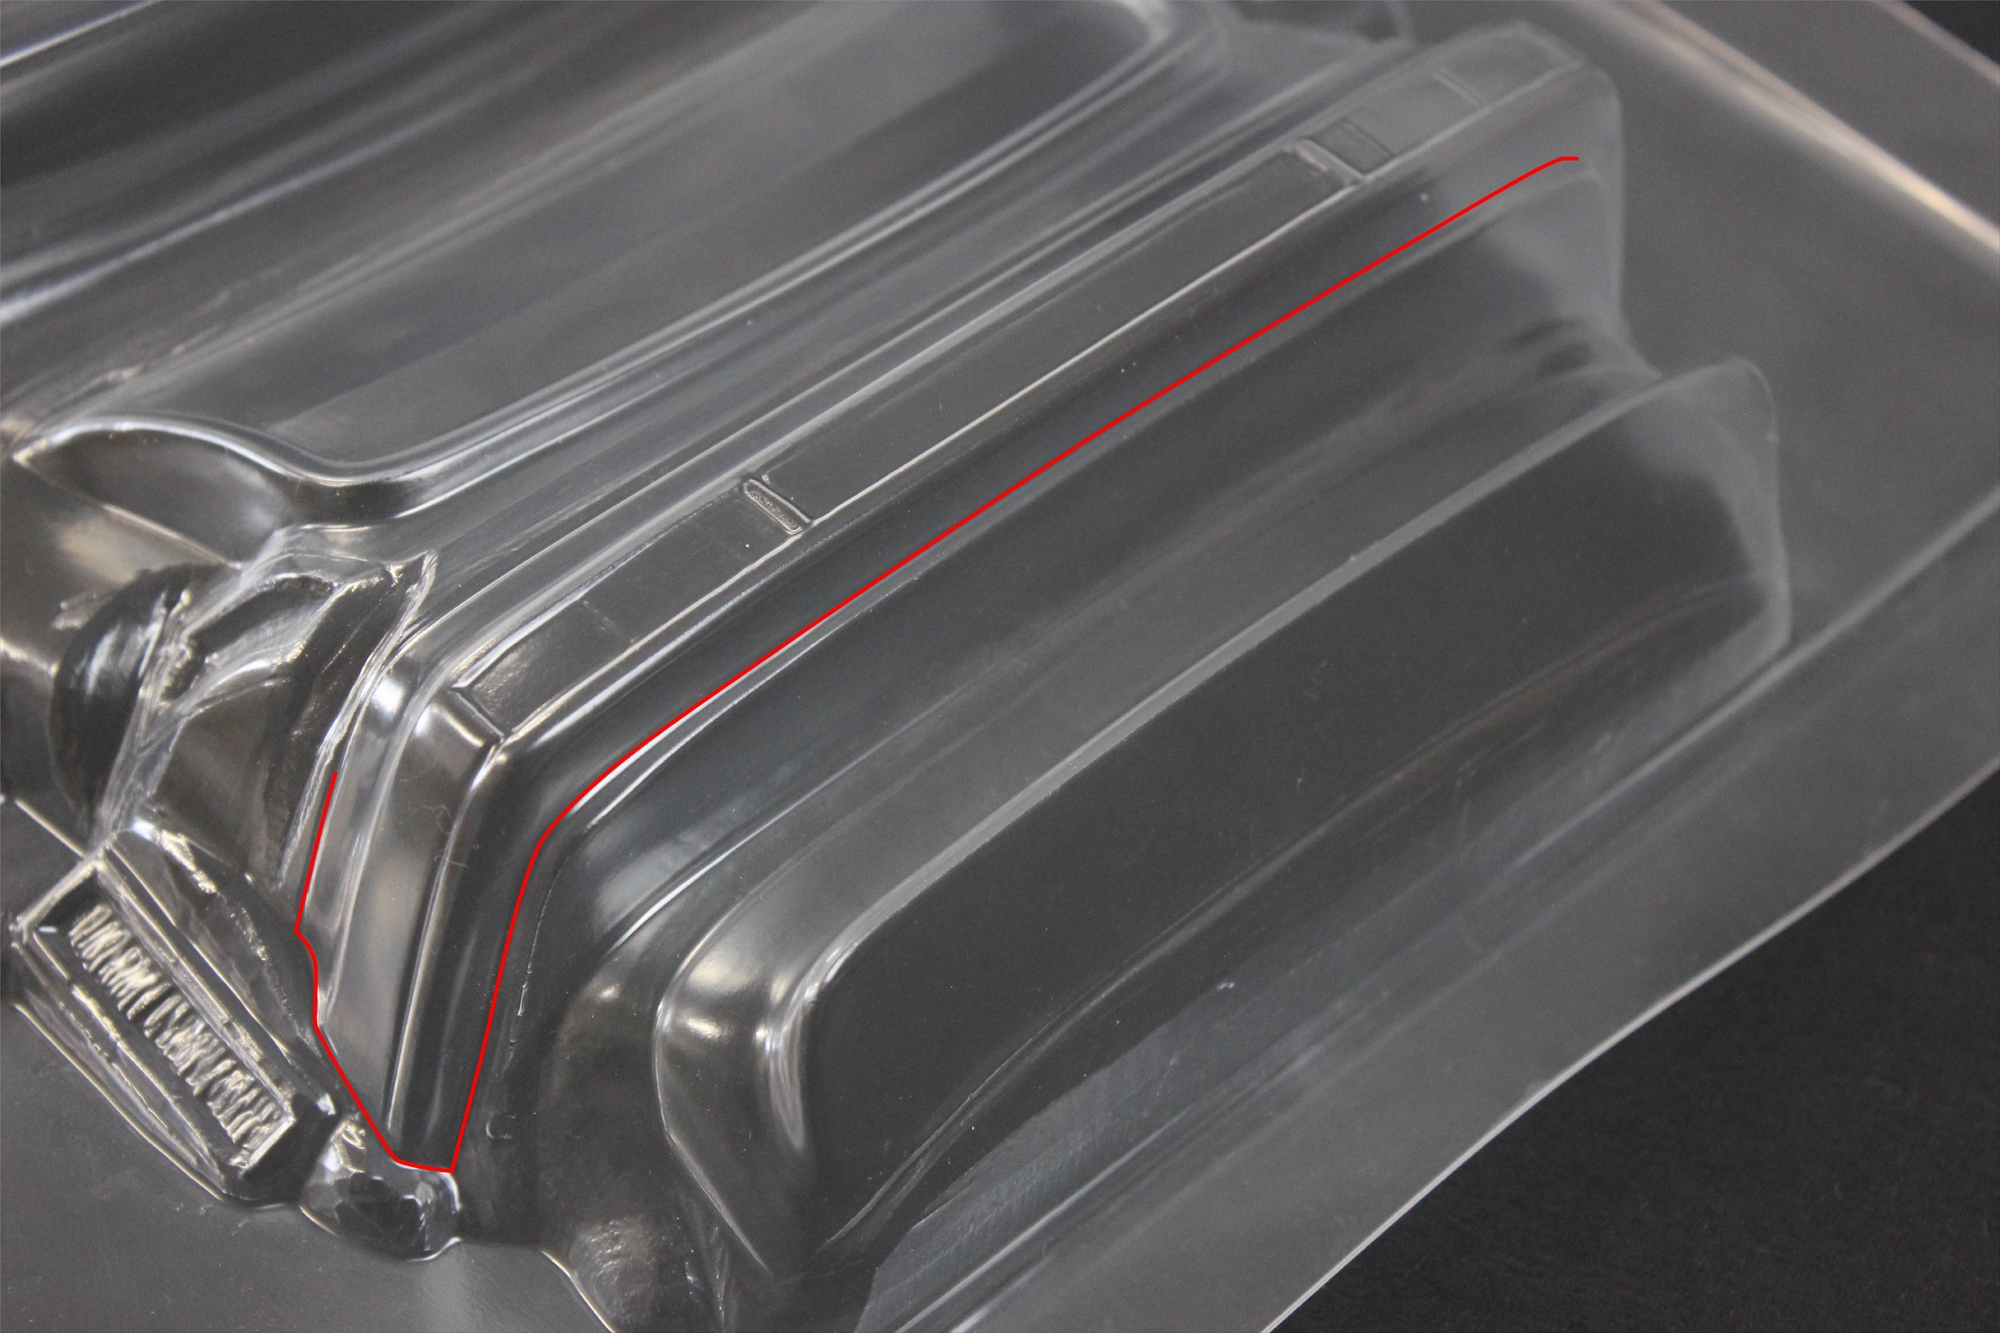
バンパーのような別体パーツでは、ボディと組み合わせるときに調整が必要な場合があります。少しずつカットをして調整して下さい。そのために、冒頭で触れましたが、カットラインより少し大きめにカットすることが成功のコツです。
For separate parts like the bumper, adjustments may be necessary when combining them with the body. Gradually cut and adjust as needed. As mentioned earlier, the key to success is to cut slightly larger than the cut lines for this purpose.
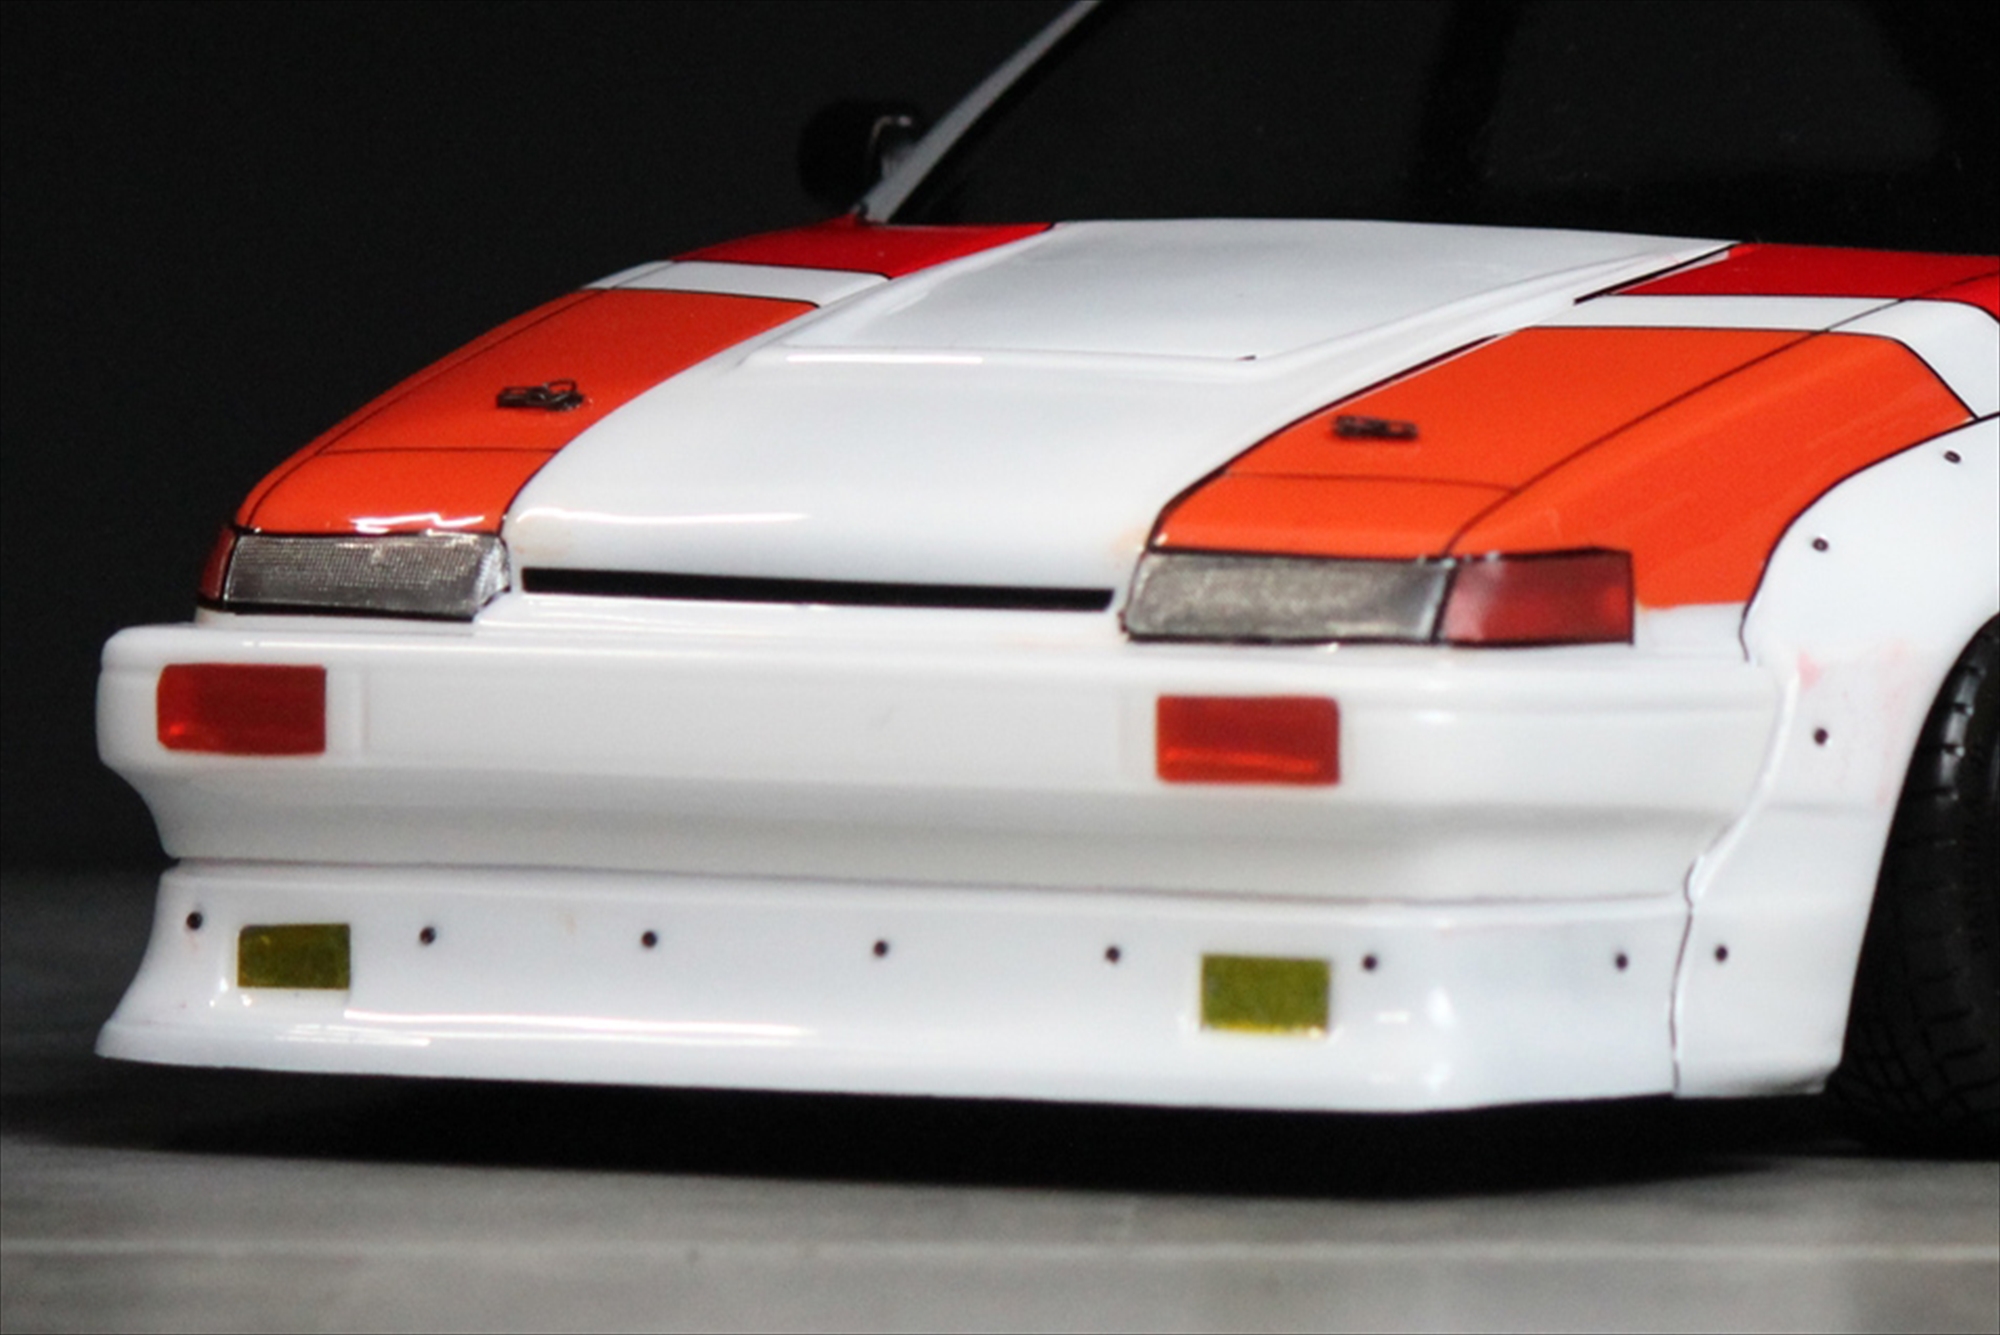
Light Parts / ライト(フロントサイド/フロントバンパー/リア)
(画像タップで拡大できます)
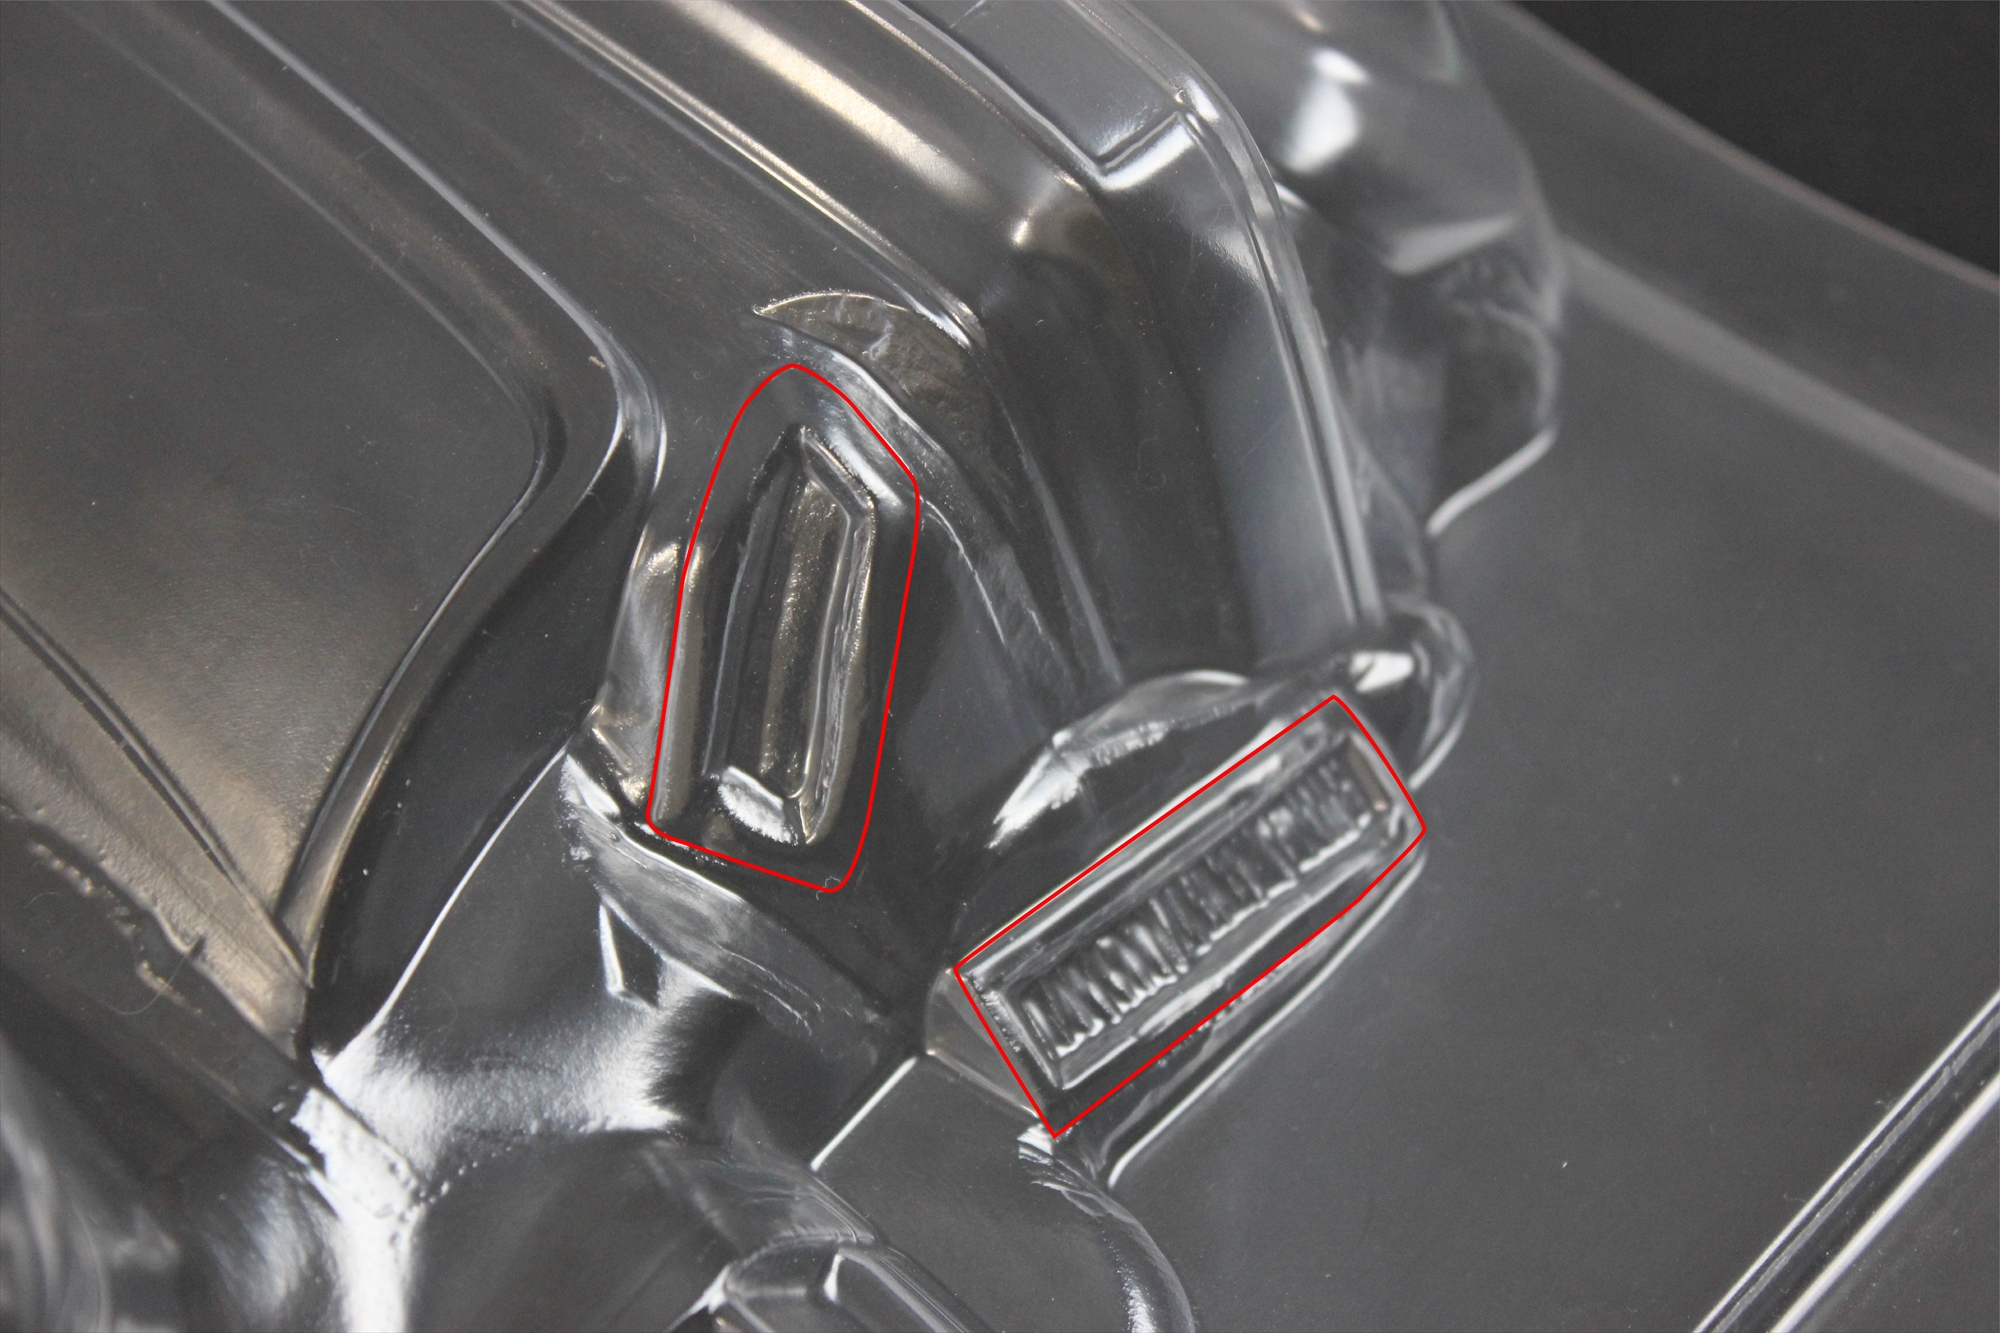
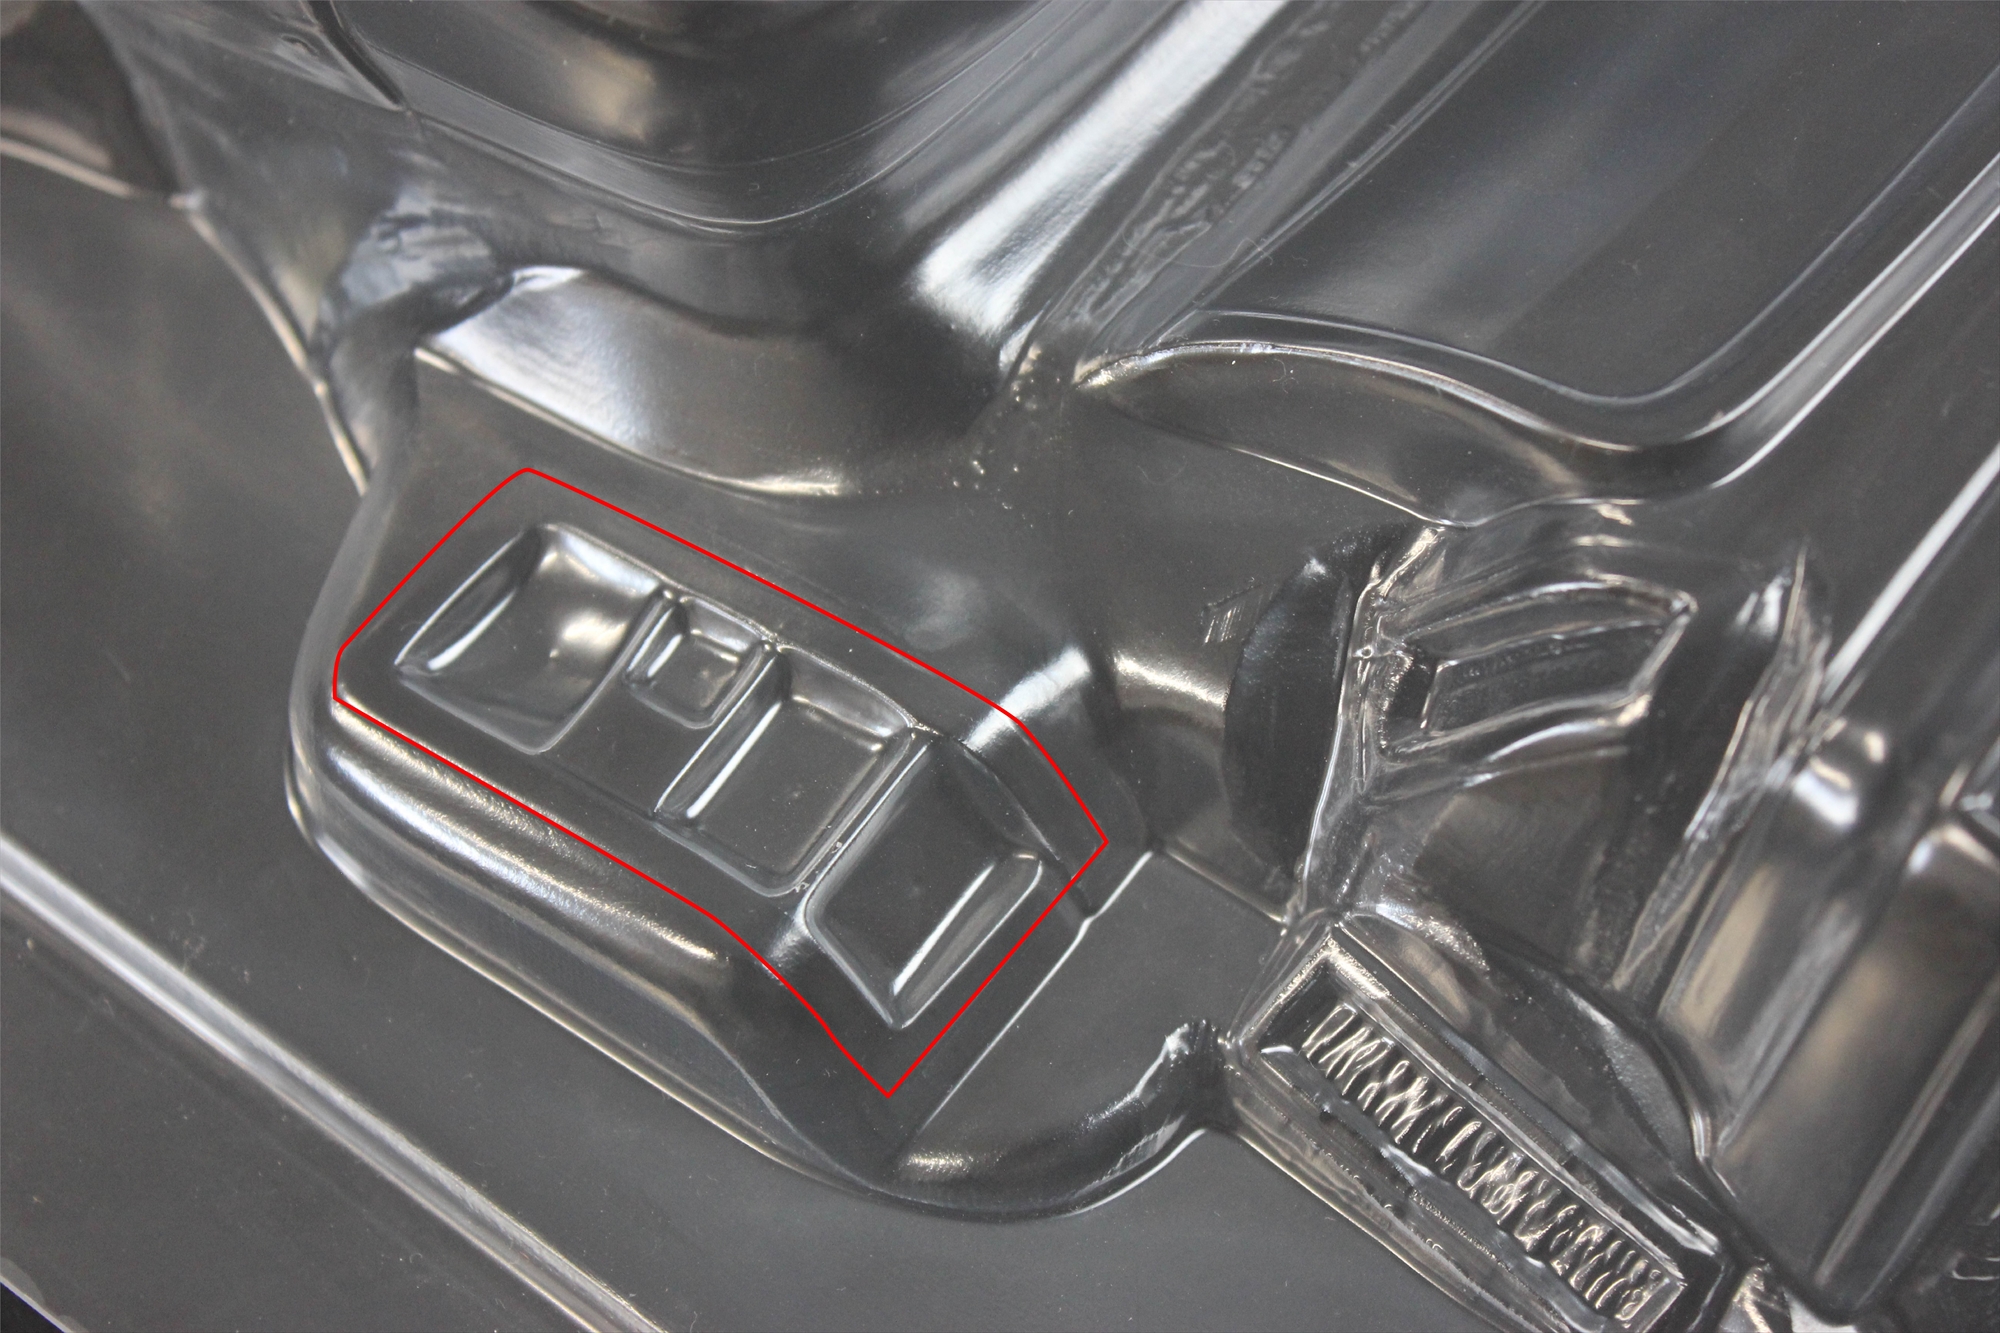
ライトパーツは、ボディの裏側から取り付けるため、取付けしろを残してカットして下さい。取付けにはテープや接着剤(シューグーなど)を用いてください。
The light parts are designed to be attached from the back of the body, so please cut while leaving the attachment tabs. Please secure it with tape or adhesive.
Spoiler / スポイラー(1)
(画像タップで拡大できます)
_01_20240125.jpg)
_02_20240125.jpg)
_03_20240125.jpg)
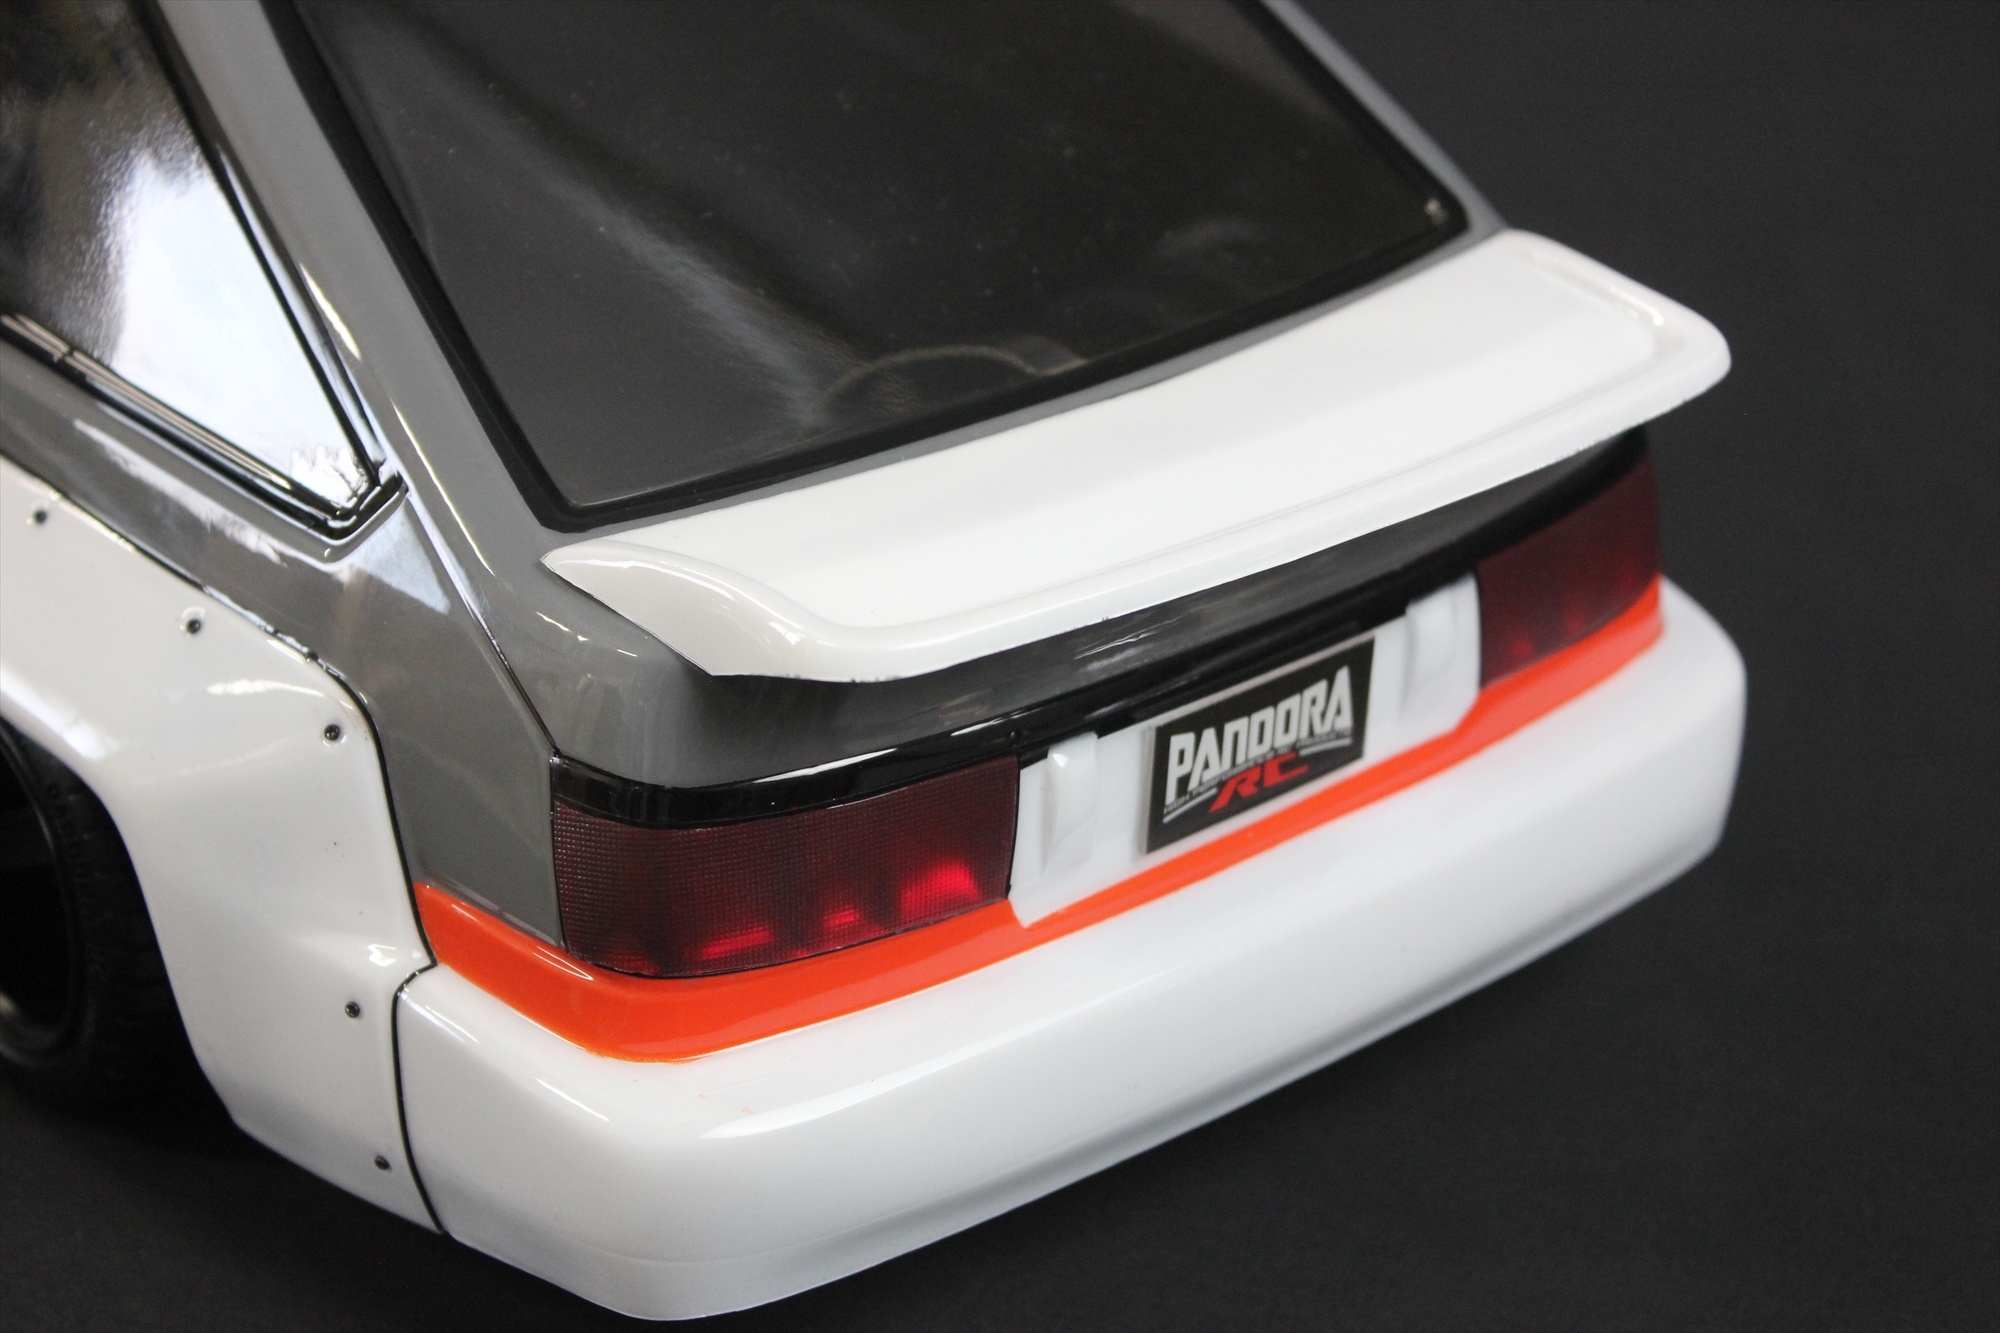
ボディに一体成形されている”ミニスポイラー”の上から取り付けることが可能です。
It can be installed on top of the “integrated mini spoiler” molded into the body.
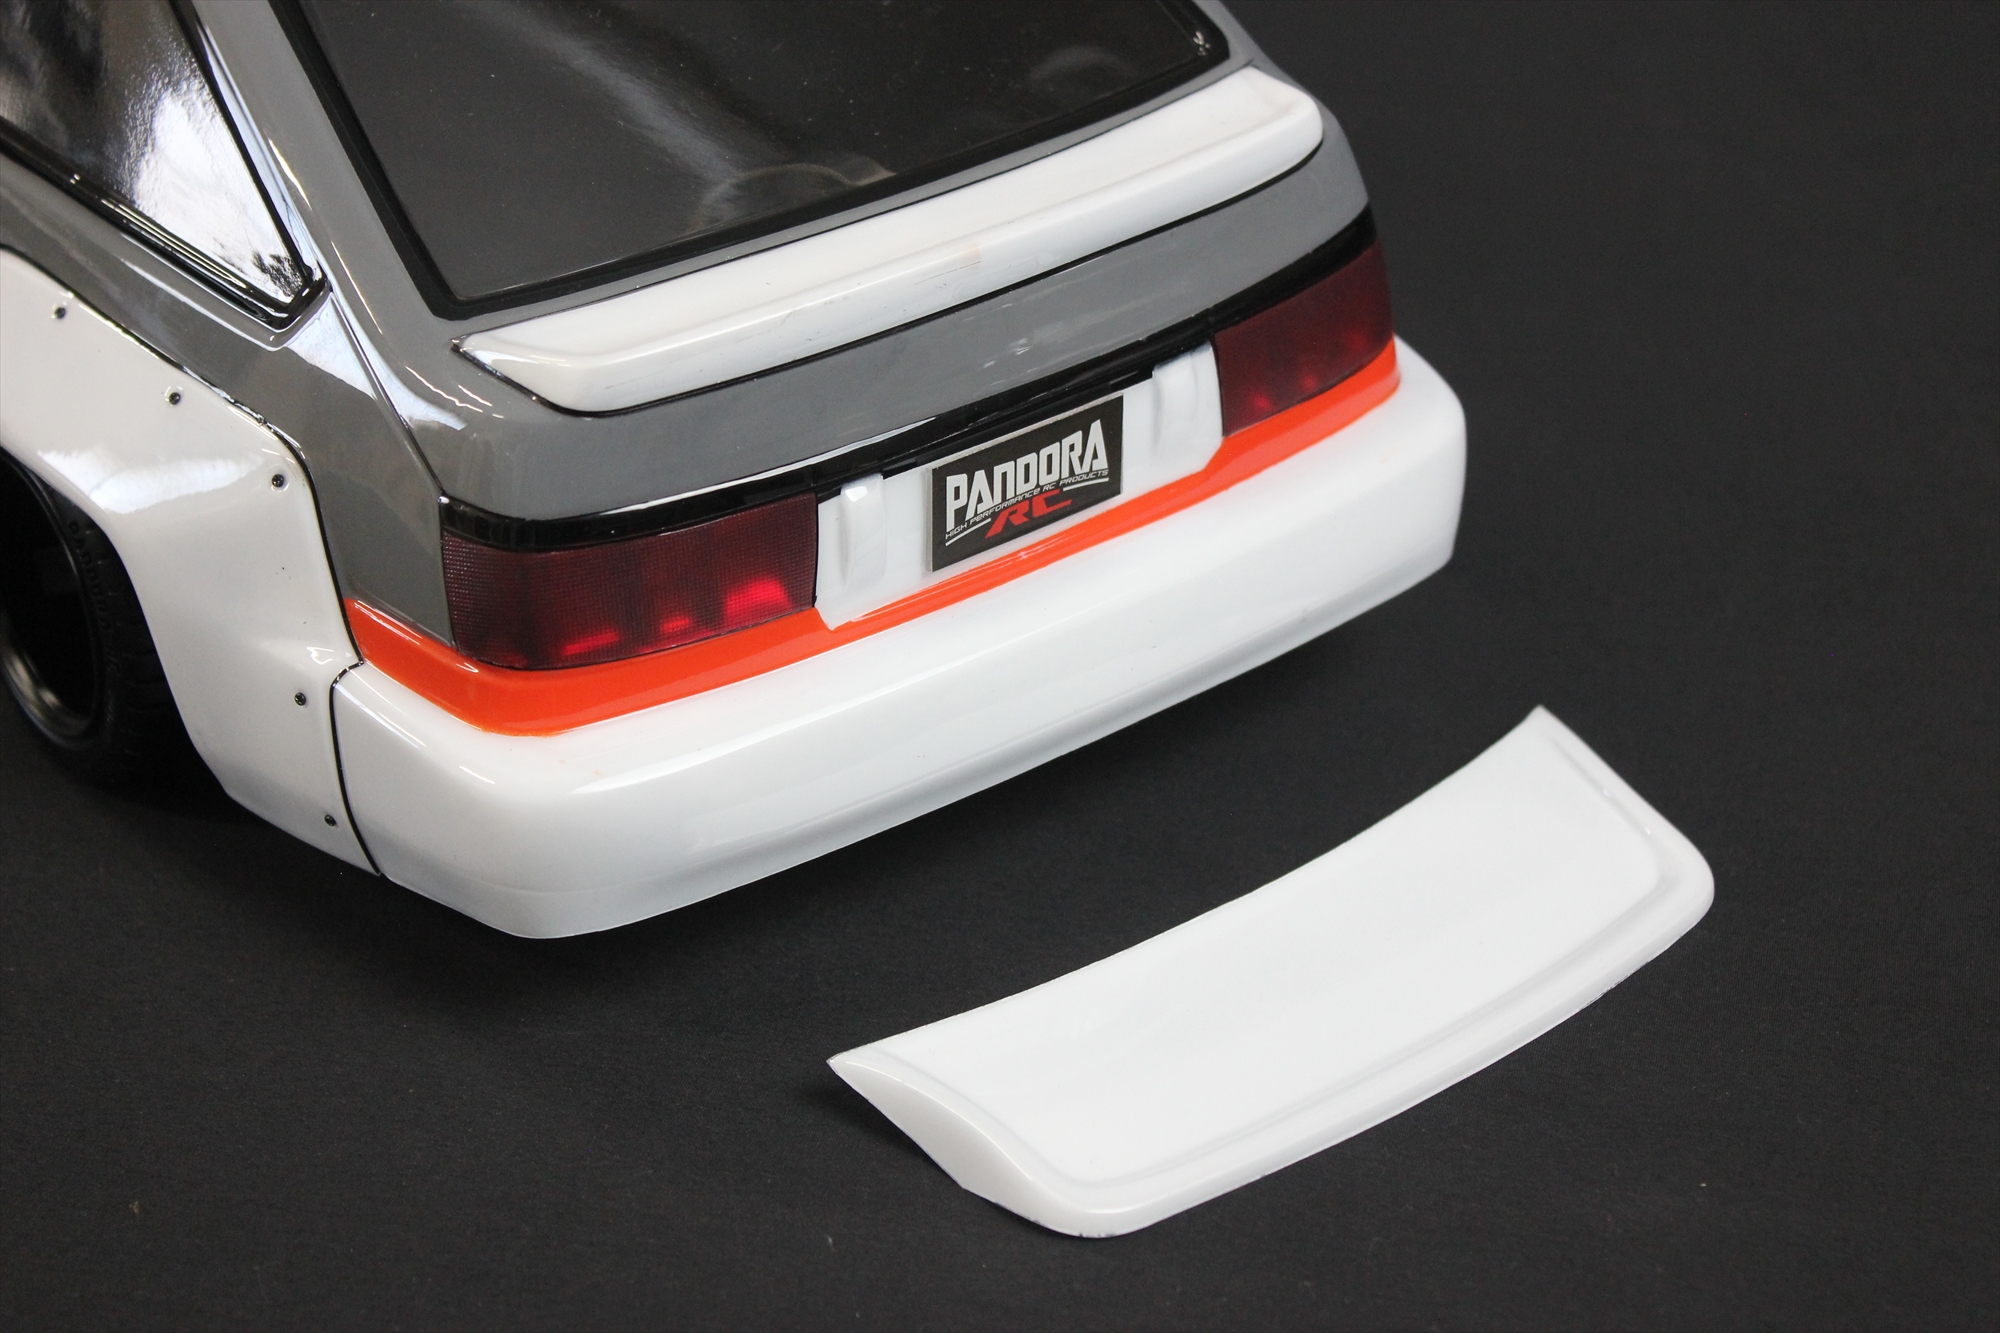
Spoiler / スポイラー(2)
(画像タップで拡大できます)
_01_20240125.jpg)
_02_20240125.jpg)
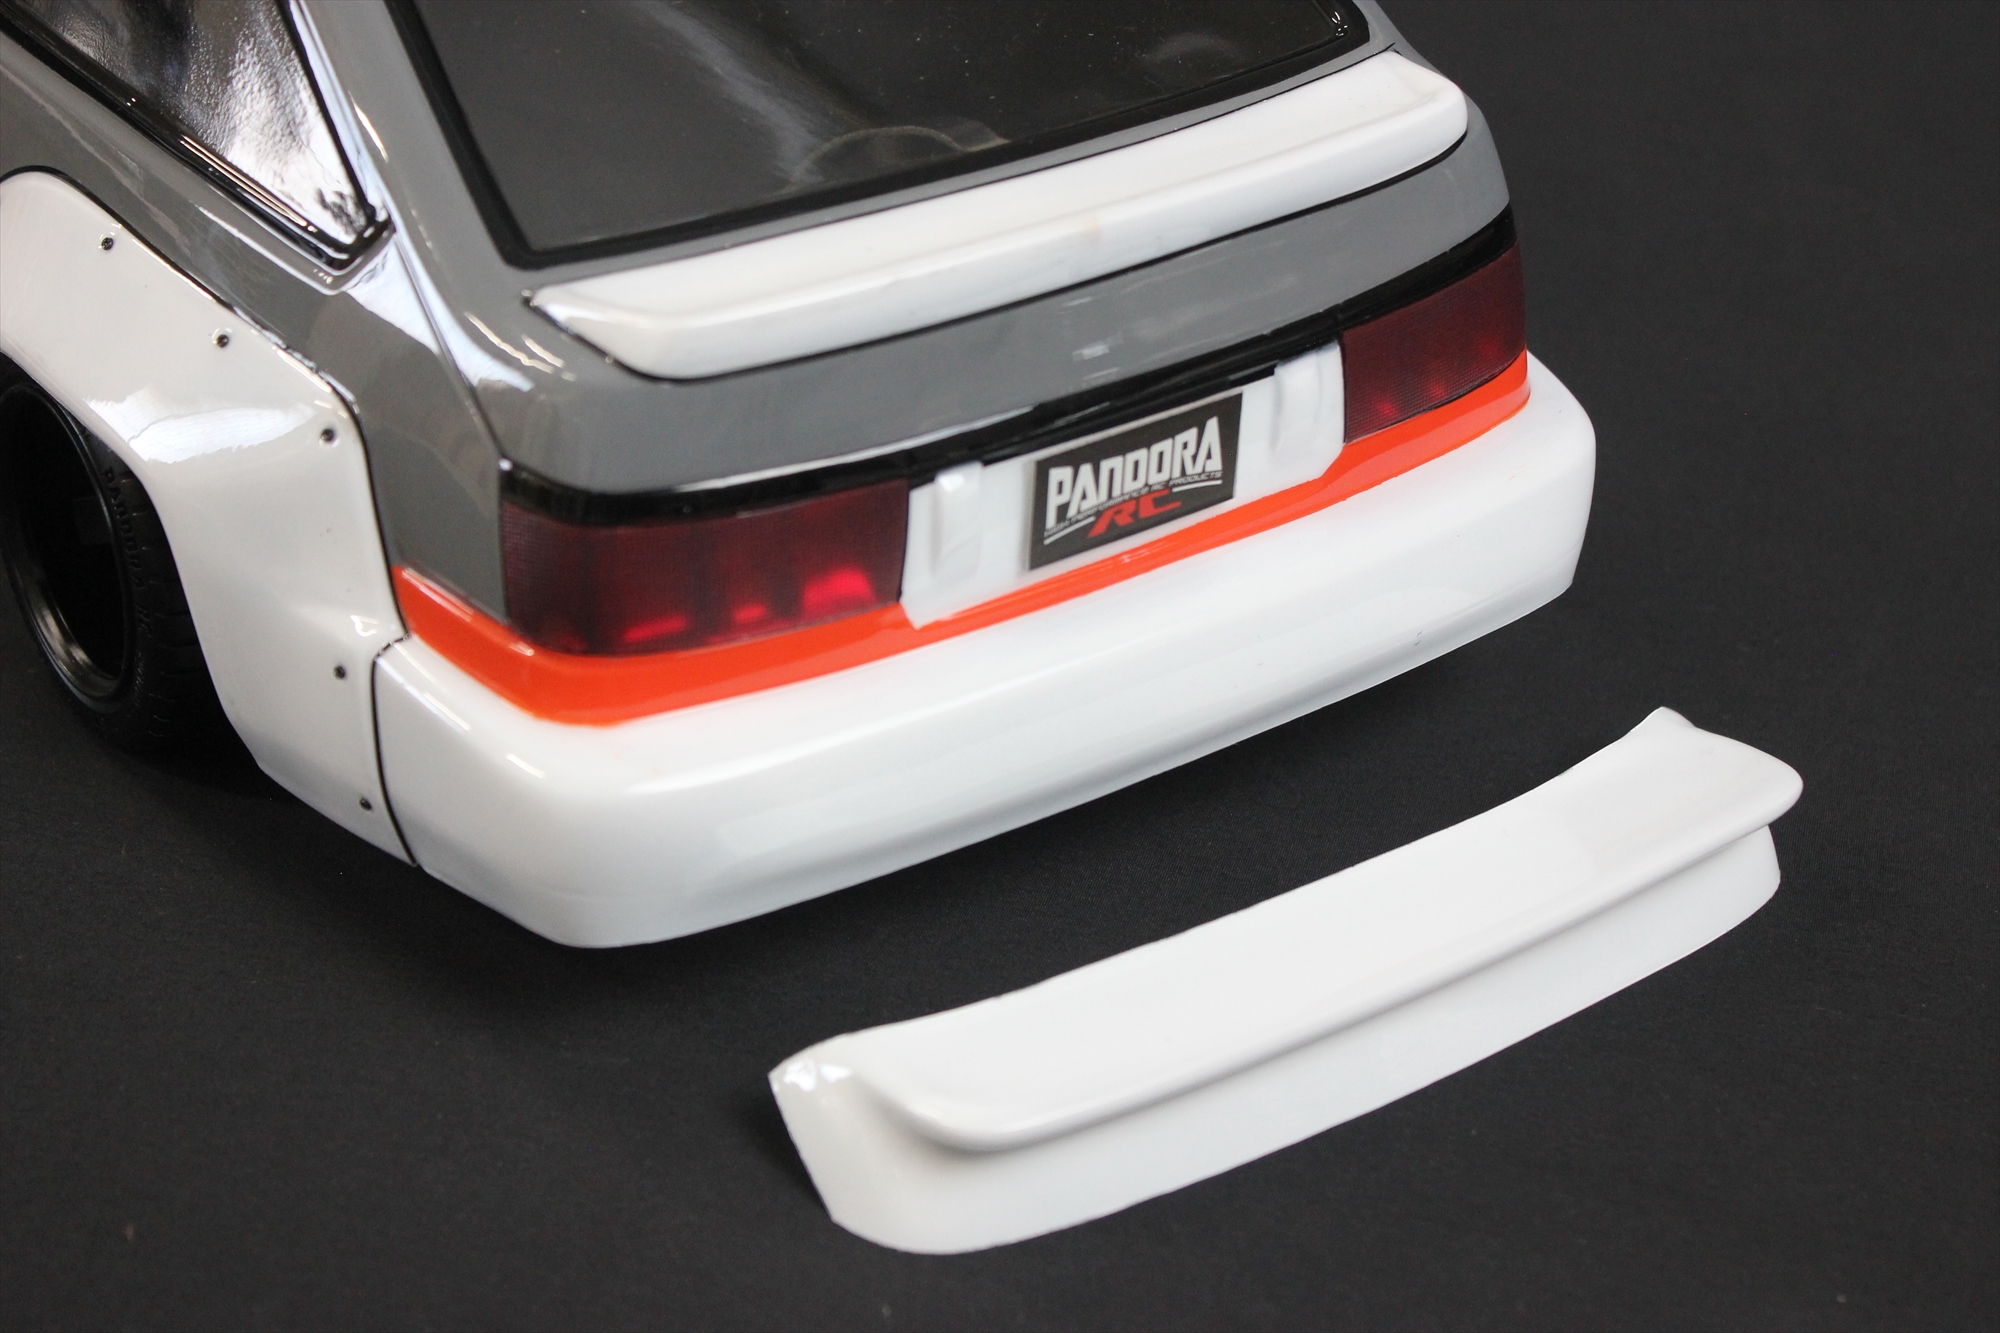
こちらのスポイラーも同様に、ボディに一体成形されている”ミニスポイラー”の上から取り付けることが可能です。
It can be installed on top of the “integrated mini spoiler” molded into the body.
以上、いかがだったでしょうか。今回発売されるボディはパンドラボディの中では比較的カットラインが分かりやすい車種かと思います。慣れていない方にもおすすめのRCボディとなっております。ぜひこの機会に作ってみて下さい!!
I hope the information was helpful. The body set to be released this time seems to have relatively clear cutting lines compared to other Pandora bodies. It’s recommended for those who are not familiar with it. Please give it a try on this occasion!
今回紹介したボディの詳細はこちらから
>>> Toyota AE86 トレノ N2仕様 [PABG-3067]
↓動画でご覧になりたい方はこちら↓
【1月下旬発売】NISSAN サニーB310 N2仕様
商品名:NISSAN サニーB310 N2仕様
型番:PABG-3065
価格(税込):6,600円
>>>NISSAN サニーB310 N2仕様 [PABG-3065]
【1月下旬発売】Toyota スターレットKP61前期 N2仕様
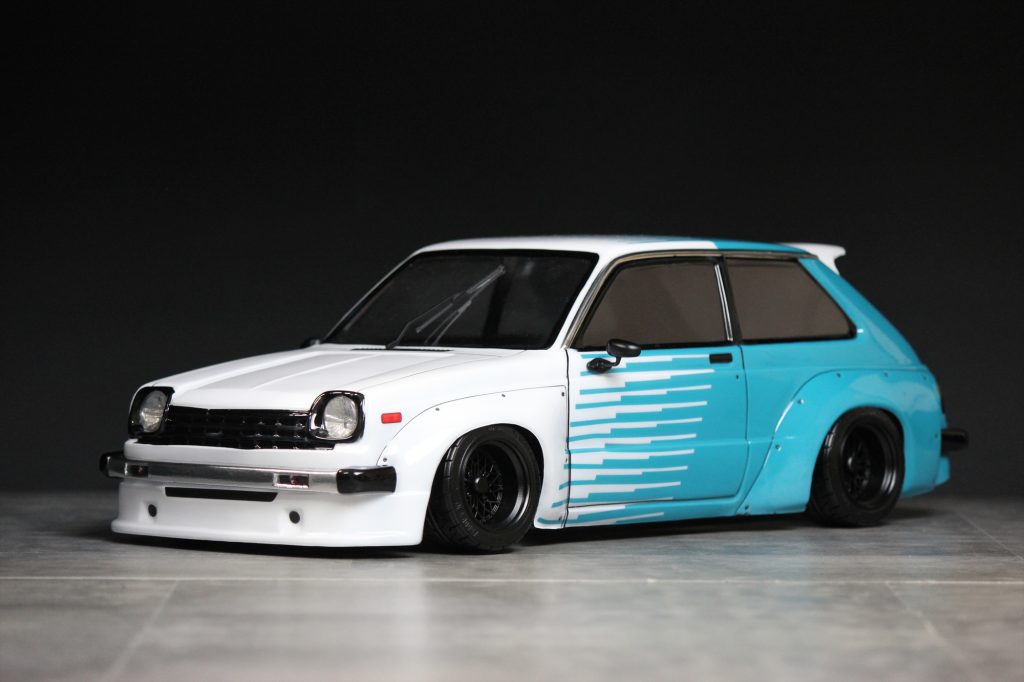
商品名:Toyota スターレットKP61前期 N2仕様
型番:PABG-3066
価格(税込):6,600円
>>>Toyota スターレットKP61前期 N2仕様 [PABG-3066]
コメント